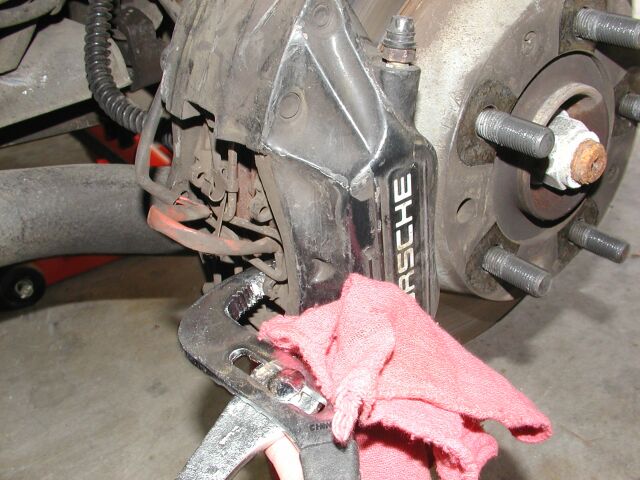
I started by parking the car in the garage, blocking the front tires, and disconnecting the battery ground strap. I then jacked the car up by the rear crossmember and placed jack stands at each of the rear jack points. I then removed the rear wheels. Removing the Brake Pads
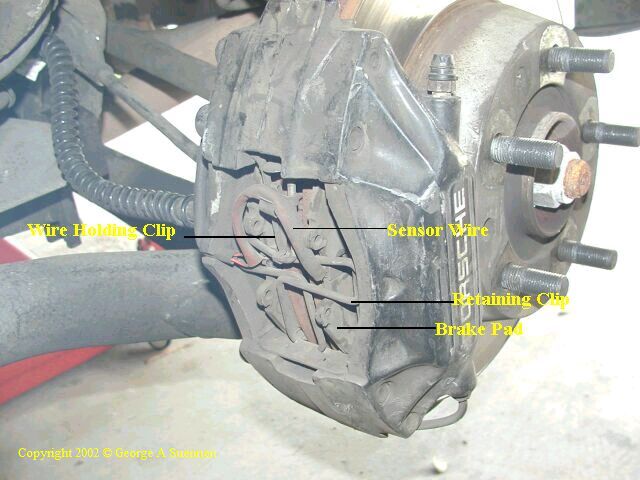
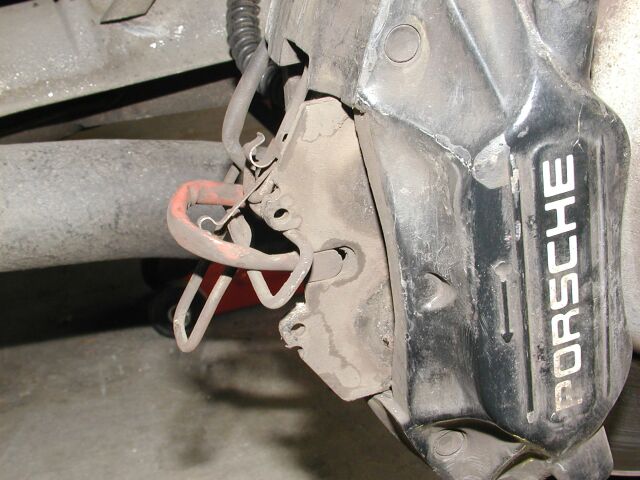
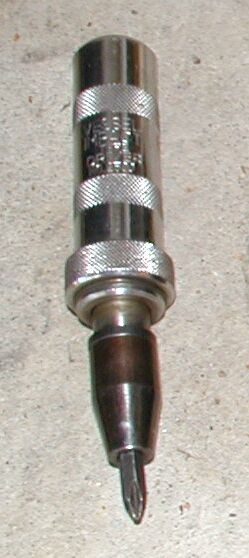
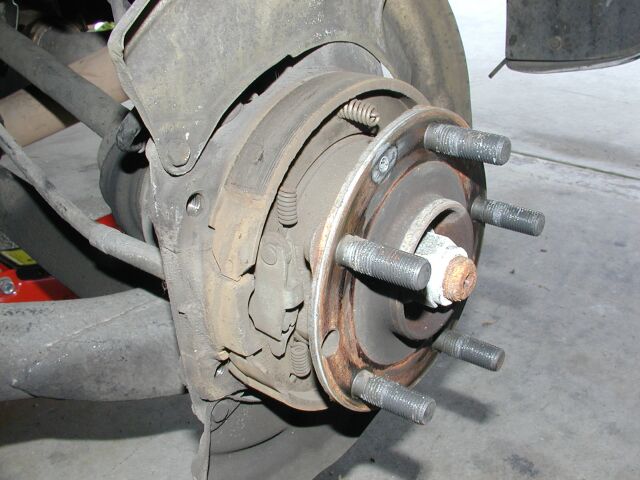
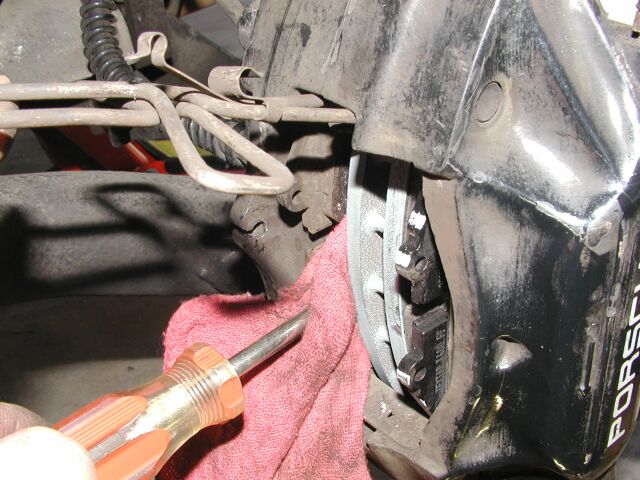
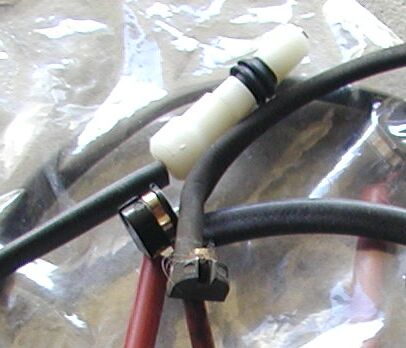
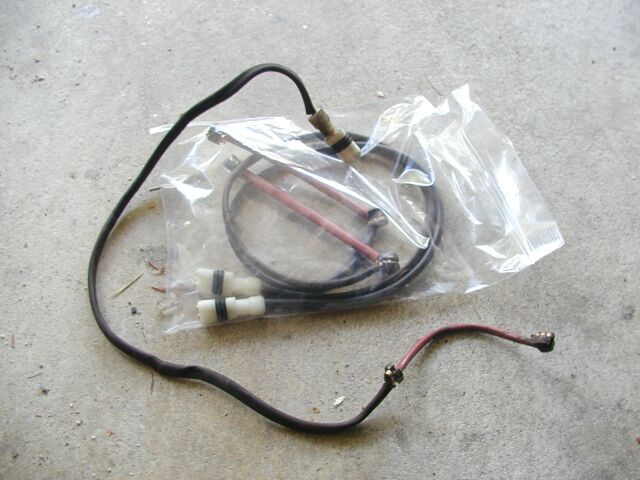
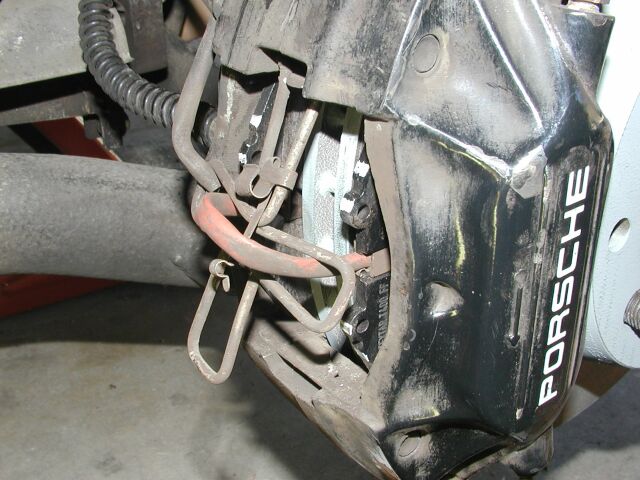
Removing the Brake Rotor Next I removed the brake caliper. It's held in place by two highly torqued 19 mm bolts located on the back of the caliper. Once the bolts were removed I placed the caliper out of the way, making sure there was no pressure on the brake line. The rotor is held on by two phillips head screws. I had an Impact driver ready in case the screws were in too tight, but they came out easily thanks to anti-seize on the threads. Next I gave the rotor a tap with a hammer and slide the rotor off the hub exposing the parking brake shoe. If the rotor is stuck, there is a third hole in the hub of the rotor that may be used to screw a bolt into and push the rotor free. Lucky I didn't have to use it. Installing the New Parts The new rotor slid over the parking brake shoe onto the hub with no problem. I reinstalled the two screws and then reinstalled the caliper. I then took out the new pads and slid them into the caliper. I had to use an old pad and a screw driver to compress one piston further into the caliper to allow me to squeeze the new pad in. On the driver's side, I was able to reuse the brake pad wear sensor. On the passenger side, the sensor was broken, so I installed a new sensor wire. I had bought two new ones just in case I needed them. The sensor wire plugs into a module located behind the dust shield. You need to open the plastic cover, unplug the old wire (there are three different wires plugged into it, so make sure you get the right one), unclip it from the two wire holders on the back of the hub, and then loosen the rubber bleeder screw cap on the back to free the wire. To install the new wire, plug it into the module, clamp the cover, route the wire through the two wire holders and bleeder cap to the brake pads. Route the wires through the retaining clip and press them into the slots in the pads. Compress the retaining clip and positioned it into the caliper, reclip the sensor wire holder, and put the wire into the holder. After I installed the new pads and rotors I took the car out to "set" the pads. I found a straight, low traffic road, accelerated up to 60-70 mph, then hit the brakes as hard as I could without locking them up. I did this 6 or 7 times in quick succession. This procedure was recommended to me by Marc Thomas. The whole process took about 2 hours and the cost was about $280. Replacing the pads and rotor on the fronts were about the same as the rears. The main differences were there is no parking brake in the front, and the sensor wires are a different length. |
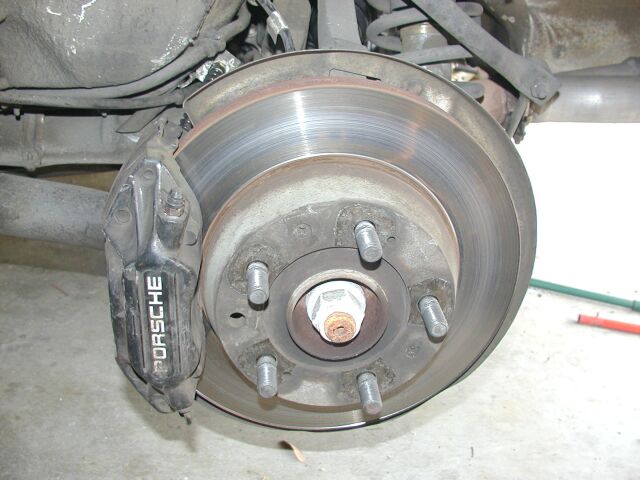
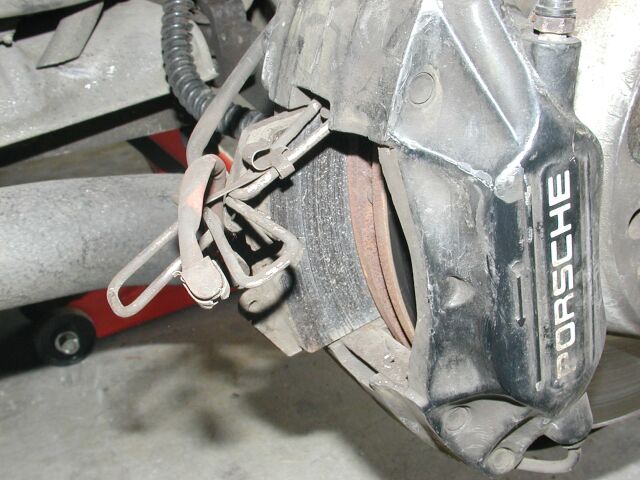
Old Brake Rotor and Pads
|
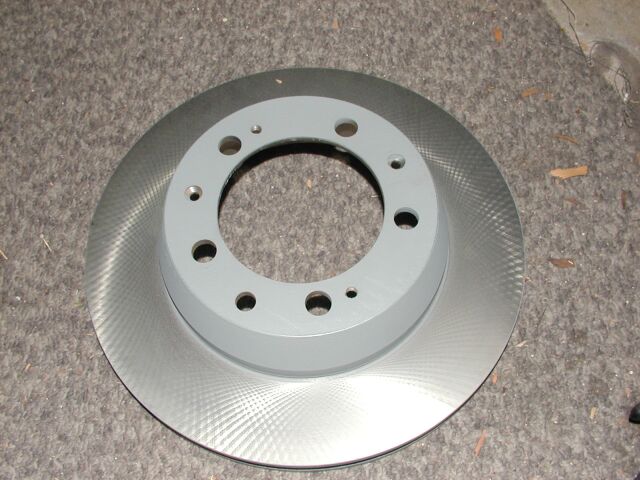
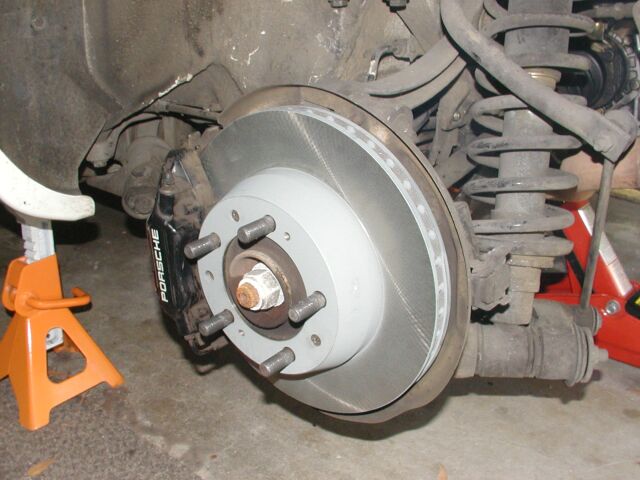
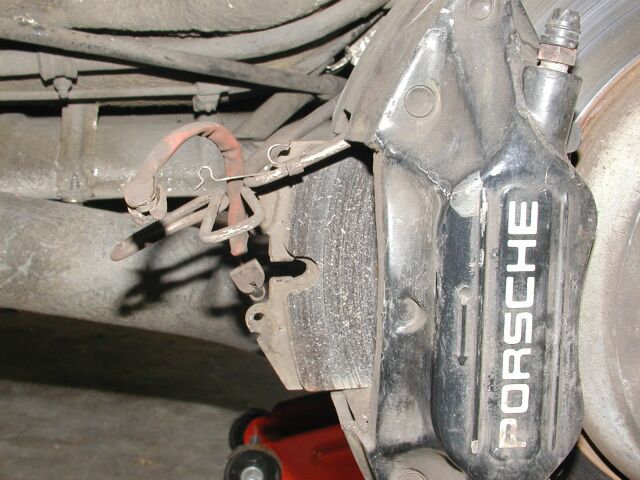
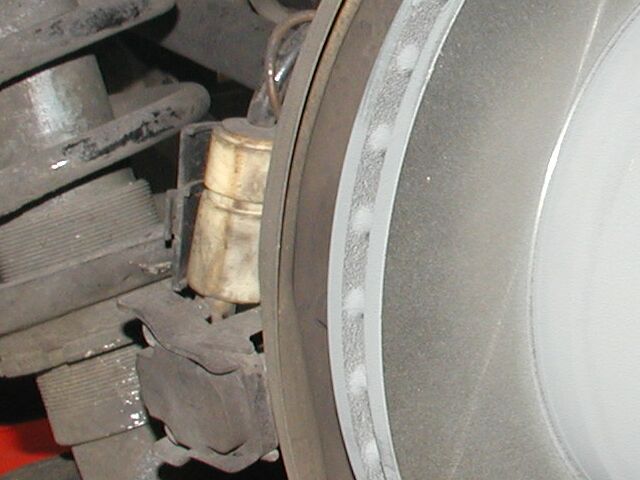
New Rotor and Pads
|
 Back to My 928 Home Page