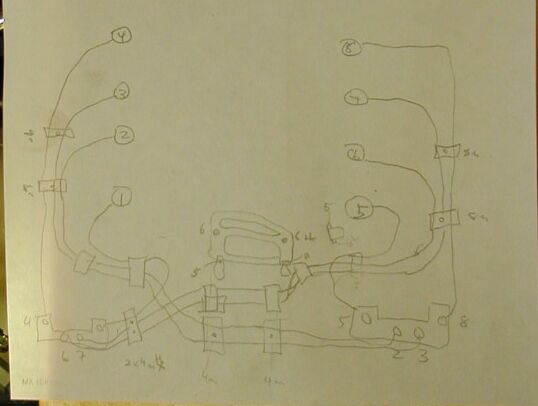
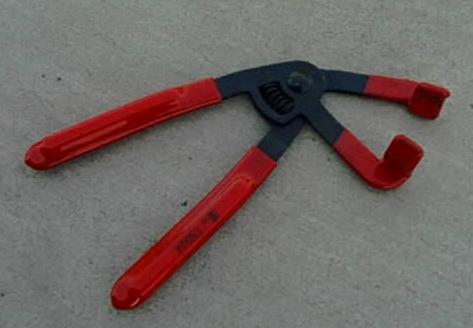
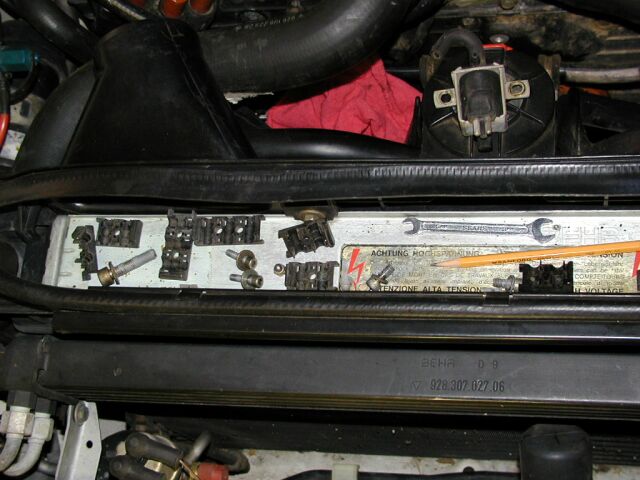
I had changed the plug wires on my 81 a couple of years ago, so I have has some experience with changing plug wires on a 928. I must say the S4 is twice as complicated as the old 16 valvers. It has 2 distributors, 2 coils and more wiring looms, and some of them are very hard to get to. There is also a lot more stuff packed around the top of the engine. Before I started I disconnected the battery ground strap then I removed the air intake tubes, and studying the wiring routes. I decided I had better write it out on a piece of paper. I then used my trusty plug puller and disconnected the plug caps from the plugs. I then started disconnecting the wire looms on each side of the engine. Before I was able to remove the main wiring bracket on the front of the engine, I had to remove the oil dip stick, I placed a rag over the opening, so I wouldn't drop crude into the engine. The main bracket is held in by 4 allen bolt. I decided to pull the whole thing out, wires and brackets as one unit. This was I could compare my new wires to the old ones, and determine the positioning of each wire within the main bracket while it's outside of the engine compartment. After I matched the wires, I marked each new wire with the location of each bracket. I attached the 4 crossing wires to the main bracket and positioned it inside the engine compartment, and check the wire lengths to see if they would reach the distributor and plugs. Once that checked out, I mounted the main bracket onto the front of the engine. I then ran the other wires from the distributor to the plugs. These are easier, since they stay on the same side of the engine. Once the wires were in position, I plugged them into the distributor and onto each plug. I also secured all the other wire looms. I decide not to use the ones that mount to each side of the cam covers (the wires are thicker here). I just made sure that the routing was clean and the wires were secure/tight enough not to move. I also attached the grounding cables to the cam cover using the existing bolts. Next came the coil wires. The driver's side coil is located next to the distributor, mounted on the side of the engine compartment. It was easy to get to, and I had no problem with it. The passenger's side coil is located under the distributor and remote jumper post and assorted hoses and cables. This is a real bear to get to and plugging in the coil wire required bending my arm/wrist into some unnatural positions. While struggling with the wire, I noticed a loose wire with a broken connector dangling below the distributor. After asking around I found out later that it was the lead to the hall effect sensor. But that's another project. After making sure everything was secure, I started the engine. It ran without a problem. I then took some more pictures, attached the air intake tubes, and went for a ride. The car seemed to run fine, I couldn't say there was any more power, but I felt better. The insulation on the old wires were cracked, and I was afraid they were arching under heavy load. I emailed a couple of pictures to Dave and asked him about the routing. He suggested that I move the two wires on the driver's side that were in front of the radiator hose to the back of the hose. He also confirmed that the location of the grounding straps were fine. I rerouted the wires the next day. The whole project took about 3 hours (I replaced the plugs while I was at it) and the cost was a little over $300. |
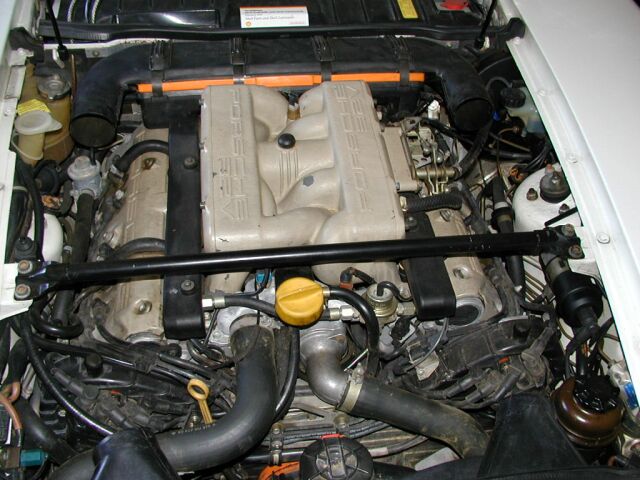
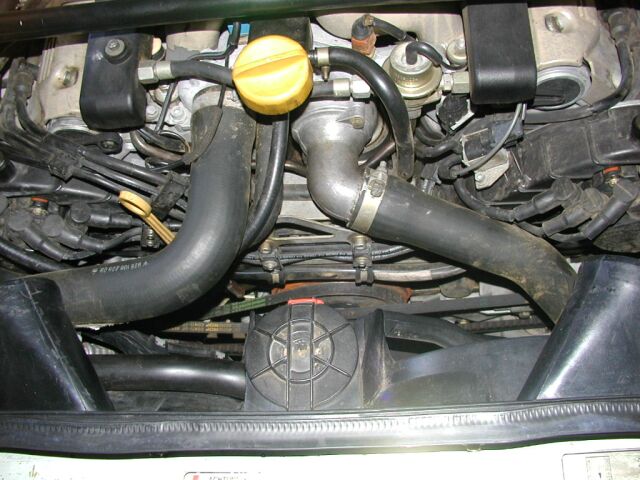
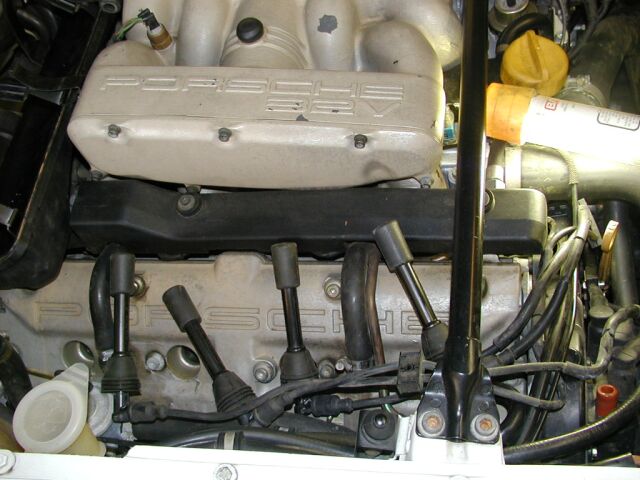
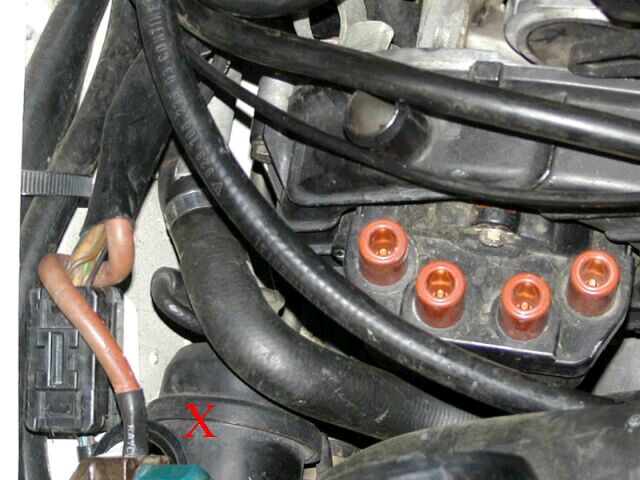
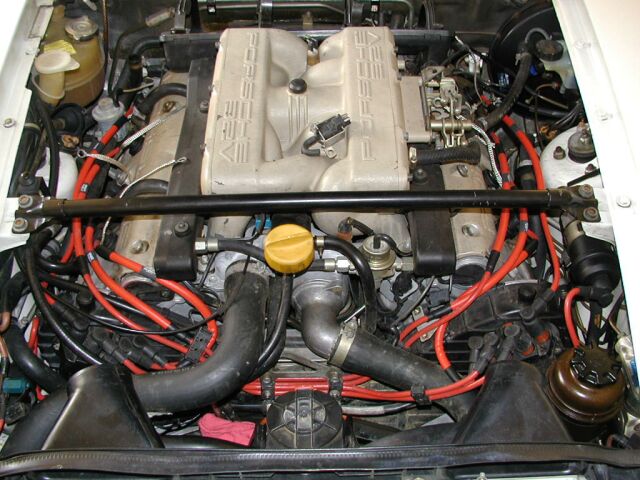
Before Wire Change
|
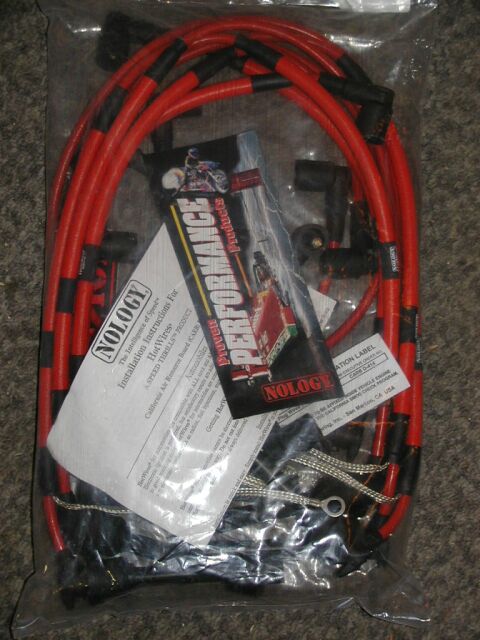
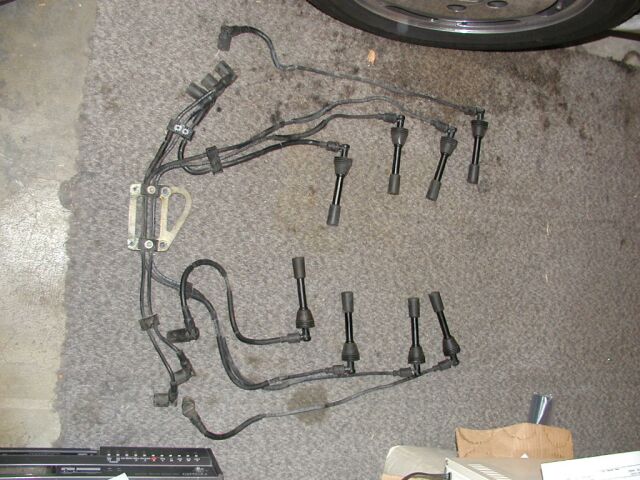
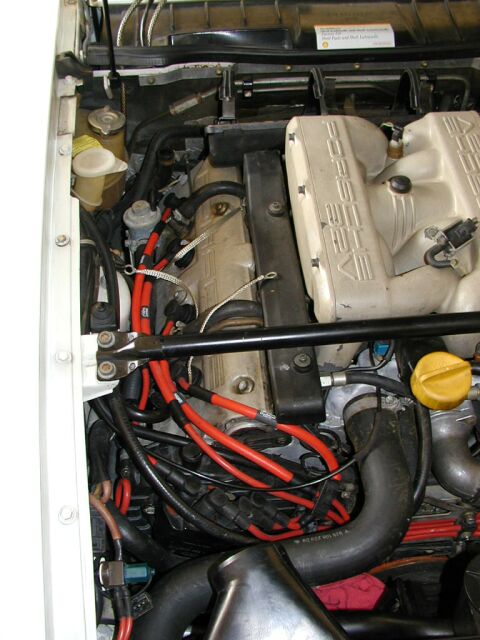
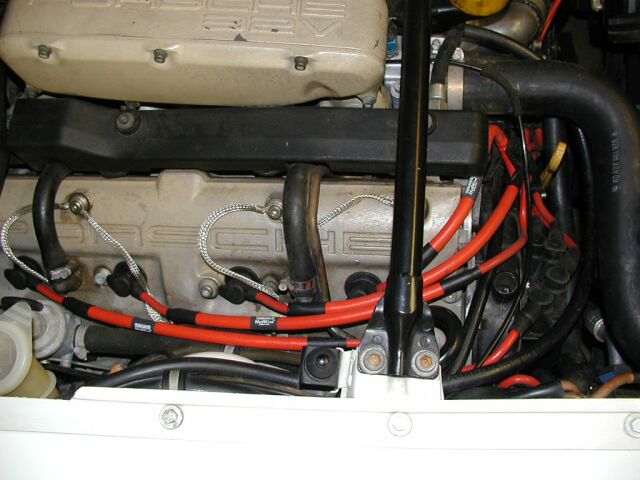
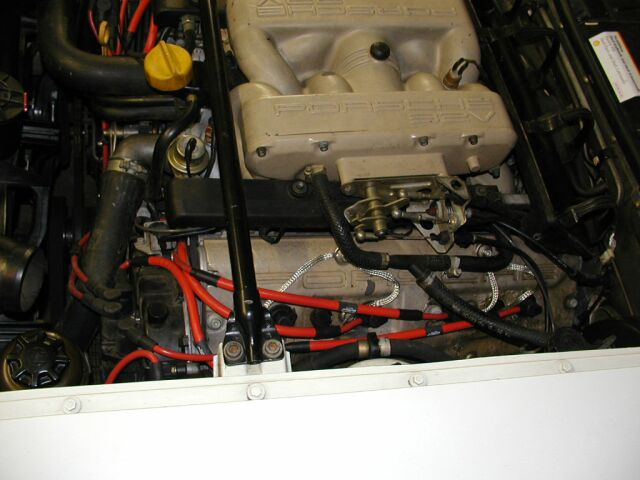
The Nology Plug Wires installed

|
Update 06/13/2009
Replaced these with a Beru wire set from Roger at 928Rus when rebuilding the engine.
 Back to My 928 Home Page