|
After years of experimenting with the fuel system for my car, I think I've finally got it worked out. The system is designed to support 500+ rear wheel horse power (>625 chp) for long periods of time.
Fuel Injectors
So starting with the power requirements I could work out the fuel injector size.
|
HP = ((flow rate x duty cycle) / BSFC ) x # of cylinders
|
Since BSFC (Brake Specific Fuel Consumption) is calculated based on the engine output, I used a .57, a typical BSFC number for supercharged engines (.55 to .6) to start with. Also I used 80% for the duty cycle and 8 for the number of cylinders.So I get:
|
625 = ((flow rate x .8) / .57) x 8 or
flow rate = ((625 / 8) x .57) / .8 = 55.664 lb-hrs
|
So I should get 55.664 lb-hr injectors. The trouble is that I could only find 52 and 62 lb-hr injectors.
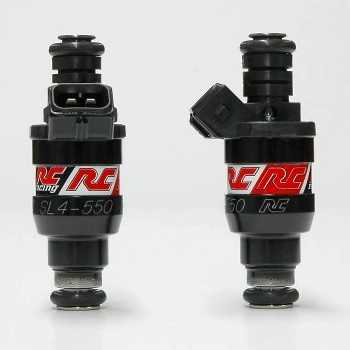
Here are the RC Engineering 52 lb-hr fuel injectors that I choose.
Fuel Pressure Regulator
Luckily you can adjust the fuel pressure to change the flow rate. Since these injectors are rated at 43.5 psi, I can use the following formula to get the new fuel pressure:
|
New flow rate = old flow rate x sqroot (new pressure / old pressure)
|
So
|
55.664 = 52 x sqroot (new pressure / 43.5) or
new pressure = (55.664 / 52) squared x 43.5 = 49.8 psi
|
That means I set the fuel pressure to 50 psi, and I should be able to get 625 crank horsepower. Now there is an issue with how much power a supercharger uses at the RPM the engine is turning, and should be taken into account when calculating the power output of an engine. This figure is usually 40-60 hp at peak impeller speed. For my car, the size of the pulleys were calculated to have peak impeller speed at 6,300 RPM (~ 224 mph with my current gearing).
So using the higher figure I get 685 chp (625+60) which works out to a flow of 59.227 lb-hrs injectors or 59.85 psi for 52 lb-hr injectors.
After talking with Tim Murphy about the fuel pressure regulator, I have decided to use the stock one. It's rated at 3.8 bars, but with the Sharktuner I can up the fuel parameters to compensate for the fuel pressure. I did have to replace a couple of fuel lines/fittings to accomplish this. Luckily Greg Brown has these in stock and was able to send them to me. I will be replacing fuel pressure regulator with a new 4.0 bar one from Greg Brown for the 2021 season.
Fuel Pump
Next I have to spec the fuel pumps. The fuel flow requirements are calculated by the following formula:
|
Gal/hour = ( flow rate x # cylinders ) / weight of fuel
Gal/hour = ( 60 lb-hr x 8 ) / 6 lbs = 80 gal/hour or 302.8 liters/hour
|
This is the peak flow rate that the fuel pump(s) should support. Most of the time the flow rate will be below this figure.
Here are the pumps that I considered (or tried):
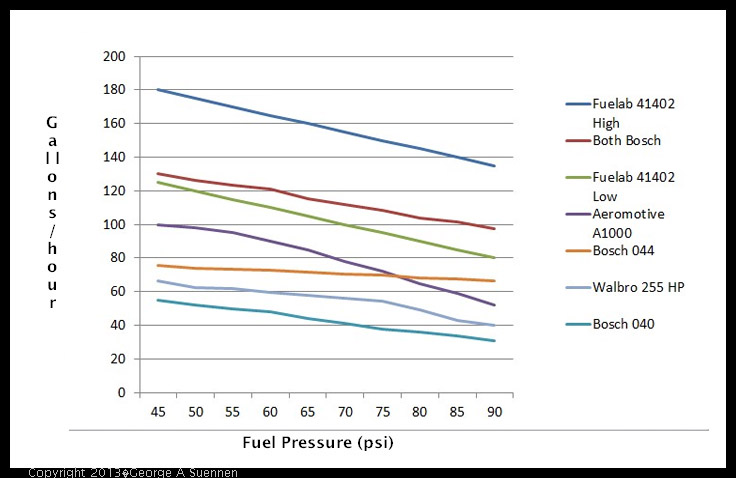
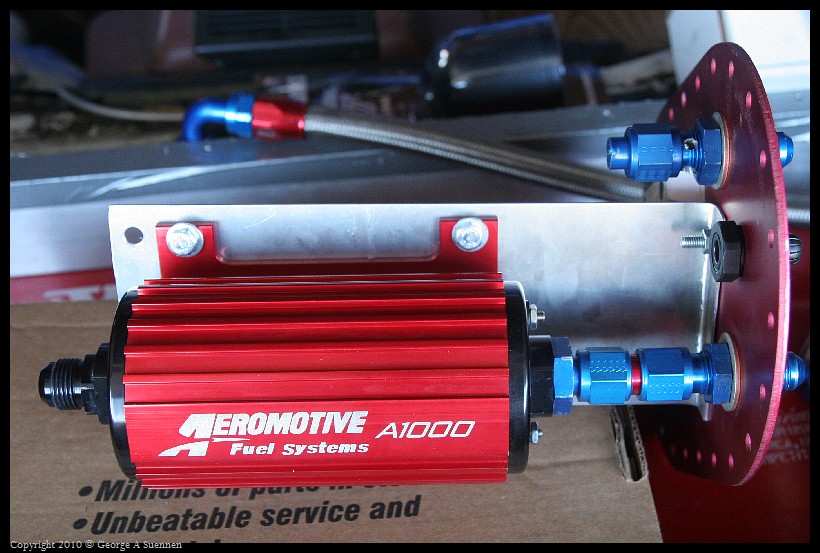
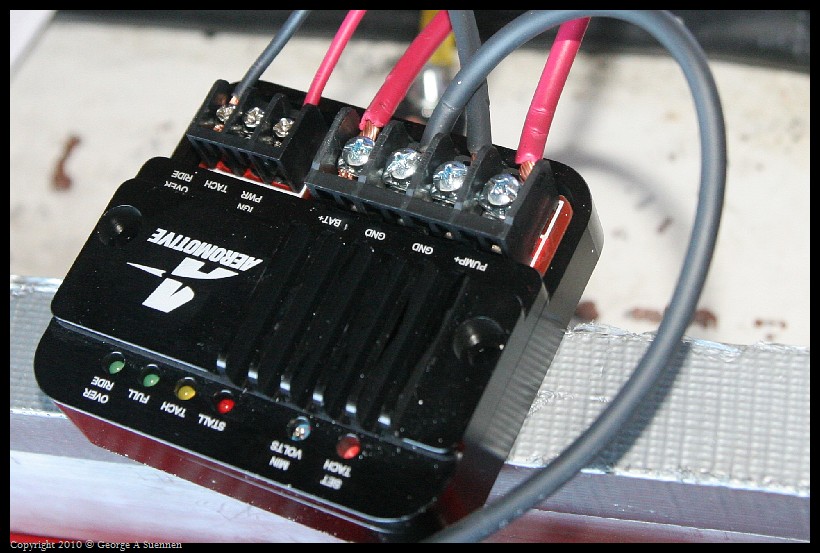
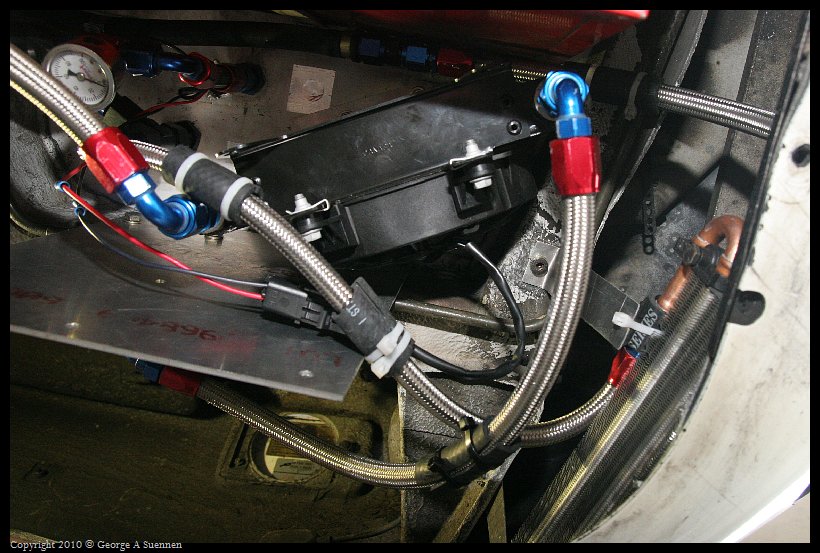
I had started with a Bosch 044, but it didn't flow enough, and I was losing fuel pressure under heavy load. I then went to a Fuelab 41402. Even in the low setting it flowed too much most of the time, and I had fuel overheating problems. This also occurred with the Aeromotive A1000, even after I installed the Aeromotive Fuel Pump Controller. So I went with a two pump system consisting of a Bosch 040 inside the fuel cell and a Bosch 044 outside the fuel cell. The 040 is be used all the time, and the 044 would be used under peak load conditions. This solves the flow requirement and helped with the fuel heating issues that come up when too much fuel is circulated from the fuel cell to the engine and back again.
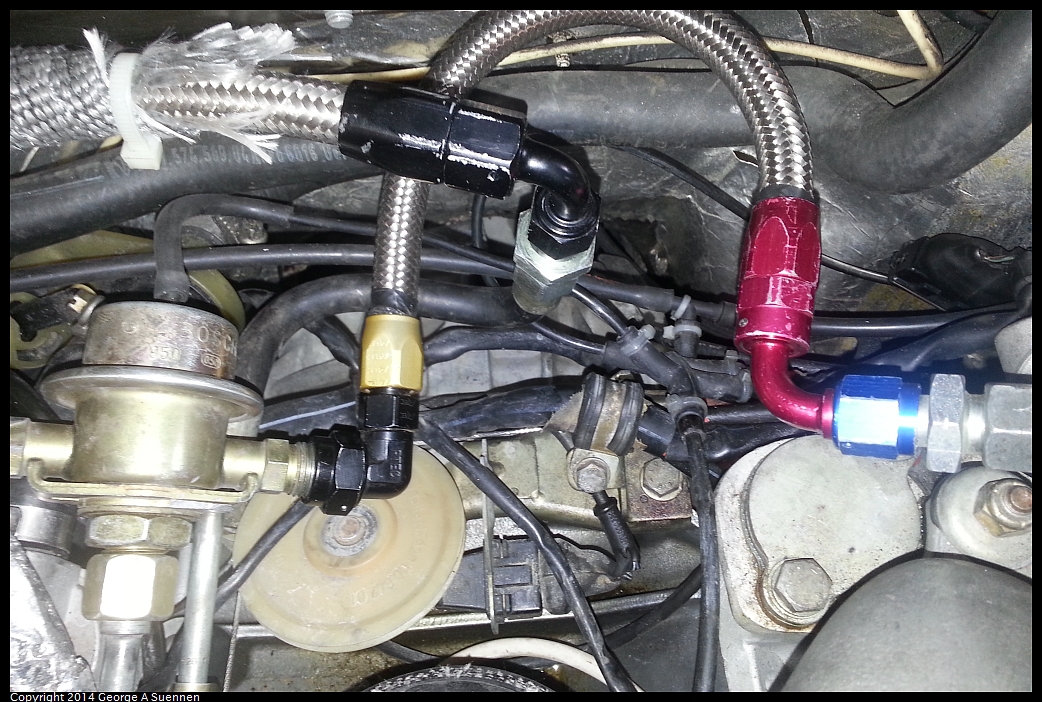
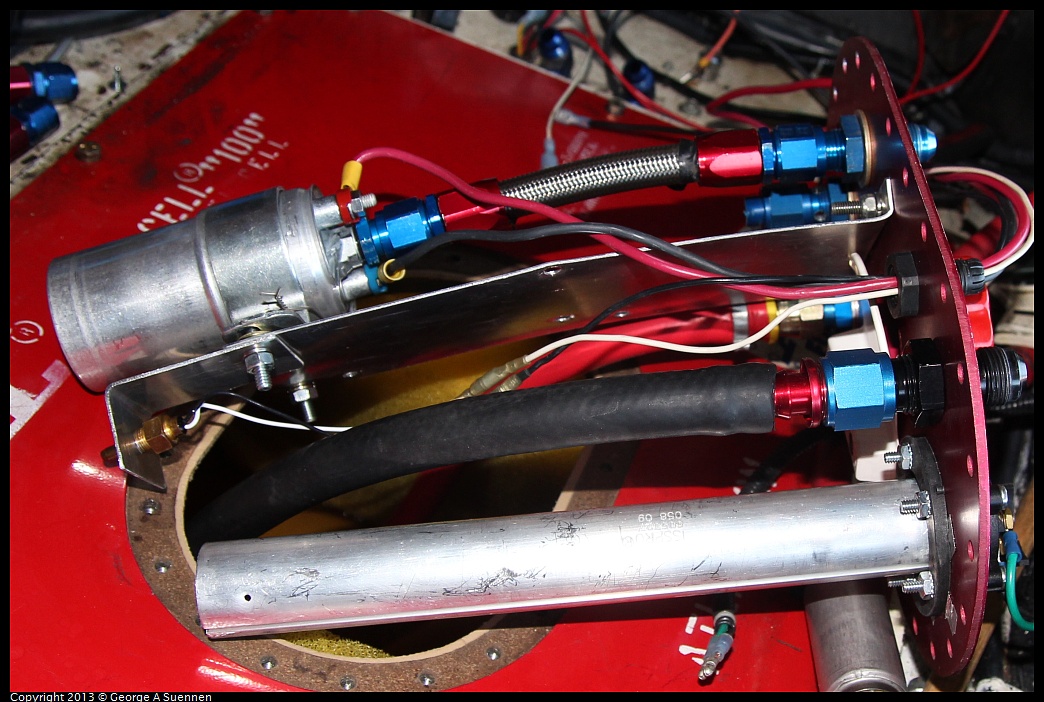
External Bosch 044 fuel pump
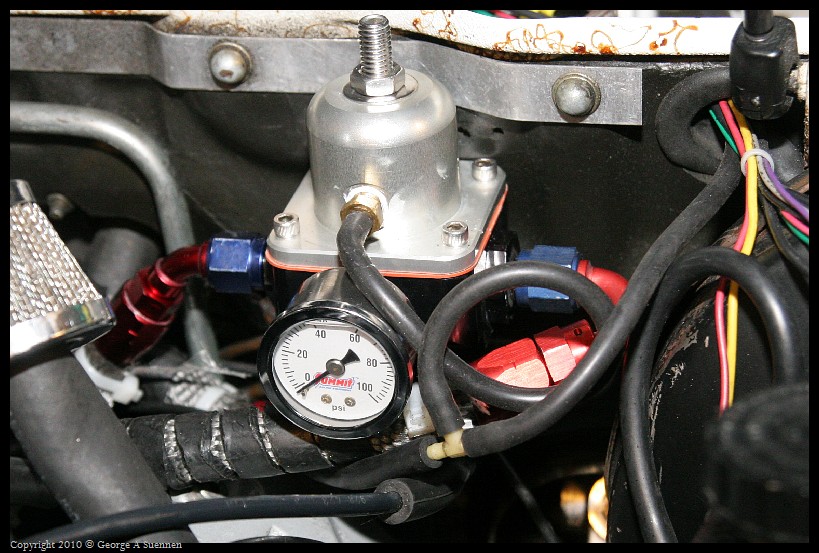
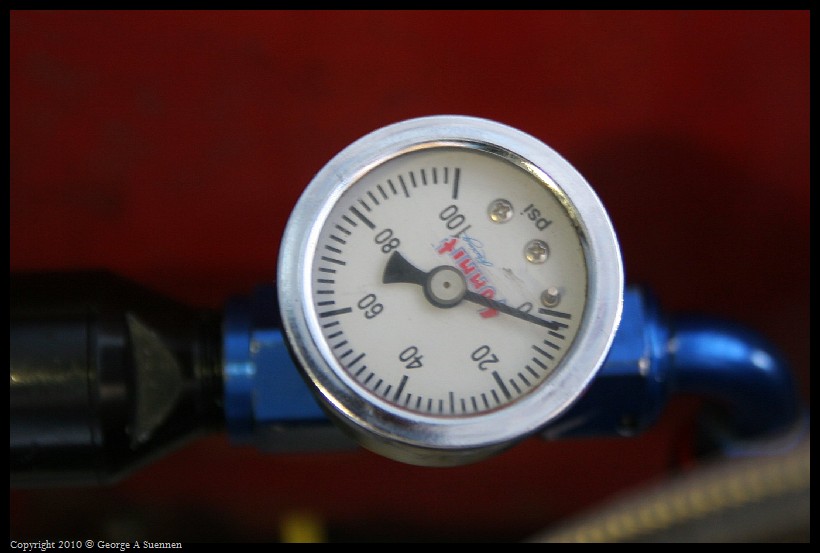
I tested the flow of the fuel system before and after I installed the second fuel pump. I used a Weldon A2040 adjustable fuel pressure regulator to set the fuel pressure at the rails. This confirmed my calculations and should provide enough fuel when needed, but limit the amount of fuel when just cruising. Also note the 5 psi pressure drop from the fuel pressure at the fuel pumps in the back of the car, and the fuel pressure at the fuel rails. This is higher then I wanted, but it could also be the inaccuracy of the fuel pressure gauges I was using or restrictions in the fuel filter, fuel line, or check valves. But given the flow numbers, it should not be a problem, though I did address some of the issues in the fuel line section below.

Fuel Cell
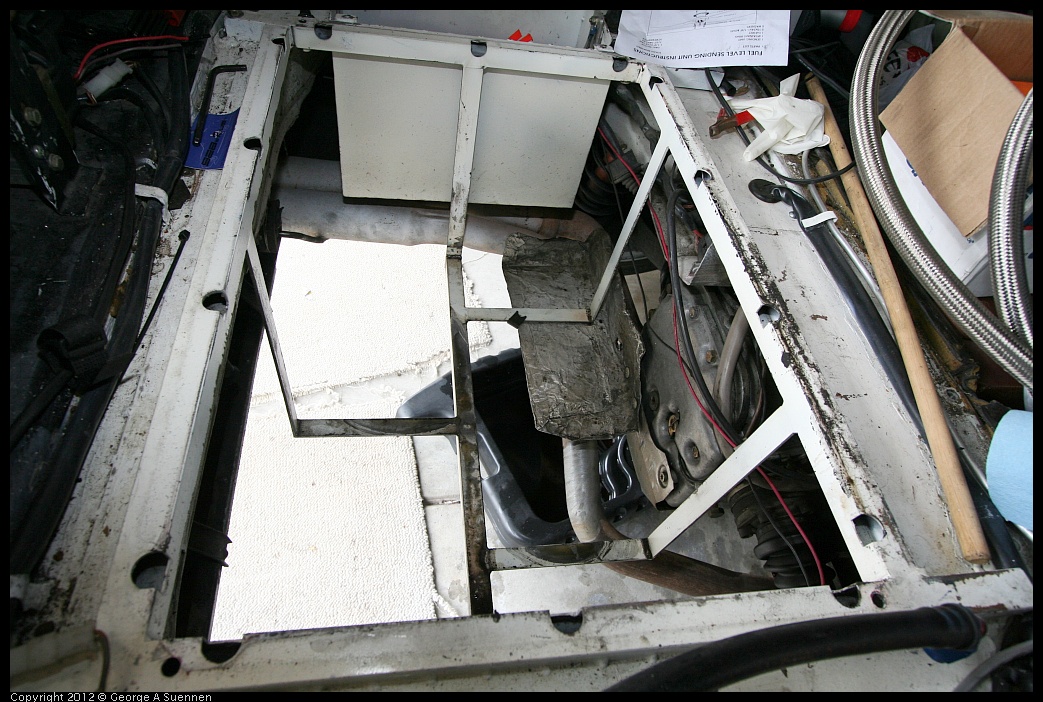
The distances involved in ORR, 90-130 miles, I had size the fuel cell to handle the longest distance without a fuel stop. I knew I was getting 4.5 mpg under the most demanding conditions, and the longest single leg was 90 miles. So I needed a cell larger then 20 gallons. Following Marc Thomas' suggestion, I selected an ATL SU-122B. This was large enough, meet all the requirements for Open Road Racing, and would fit in the space occupied by the original fuel tank.
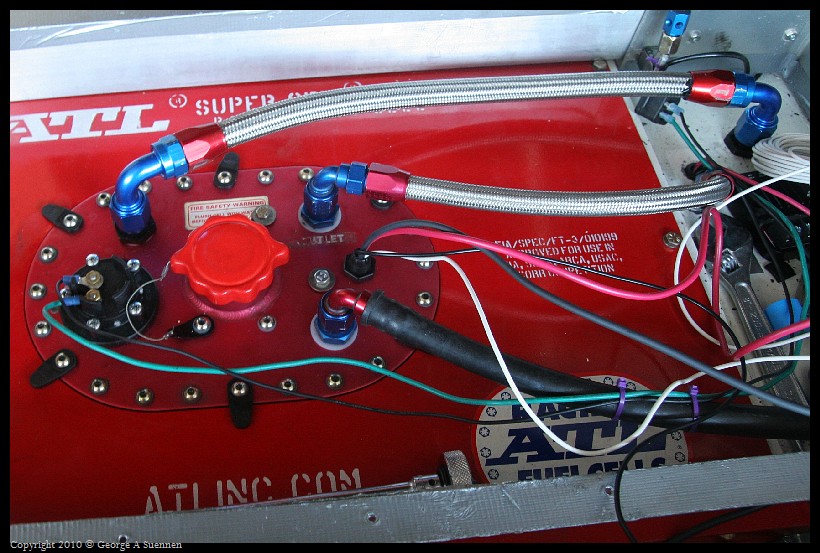
ATL SU 122B Fuel Cell
[Update: After acquiring the Sharktuner, I was able to fine tune the fuel and ignition timing. I was able to improve my fuel usage to almost 8 mpg while averaging 170 mph.]
Fuel Lines
At first I was using the stock fuel lines to supply and return the gas. But when I was having all the fuel overheating problems I did some calculations on the fuel line sizing. I wanted to keep the friction loss to one psi or less, and the fuel velocity below three fps. Using the following parameters:
Flow gal/min: 1.25 (80 gal/hr)
Hose length: 15'
Fuel Rail High: 2.5'
Density-SG: .7 (gasoline)
P loss elev: 0.757576 psi
|
and an online Fuel Line Calculator I came up with these values:
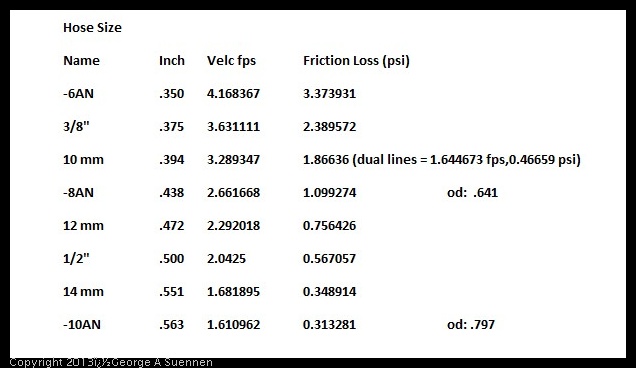
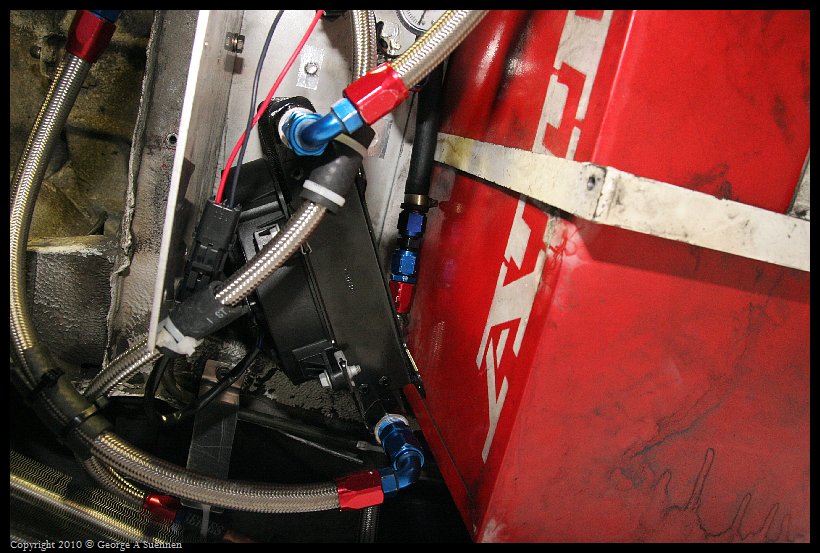
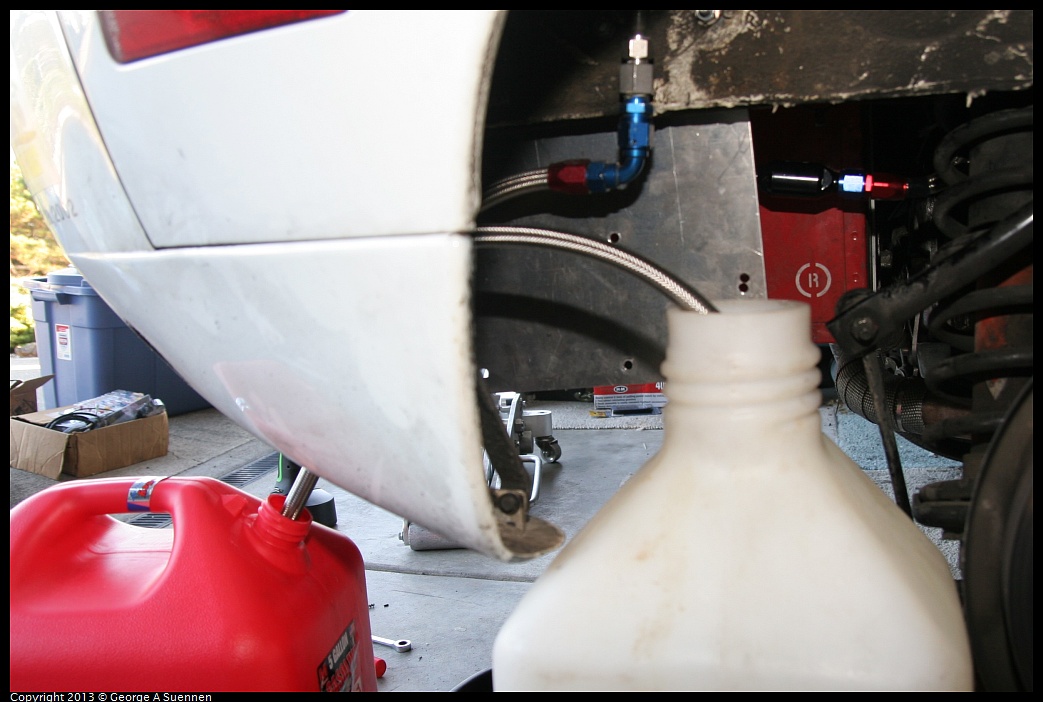
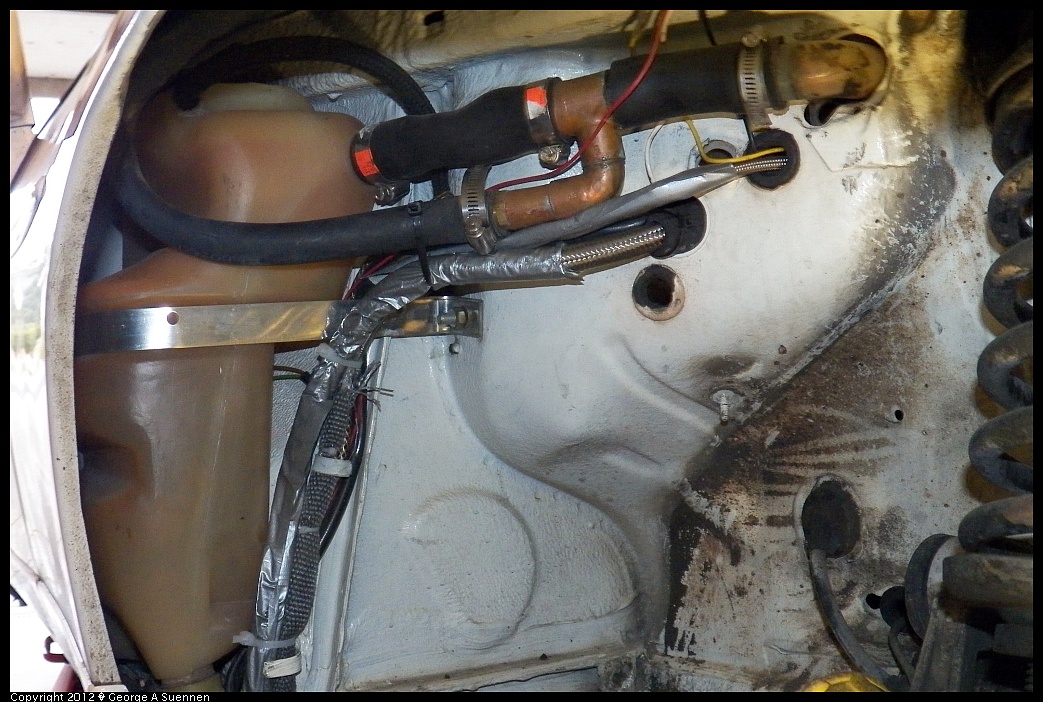
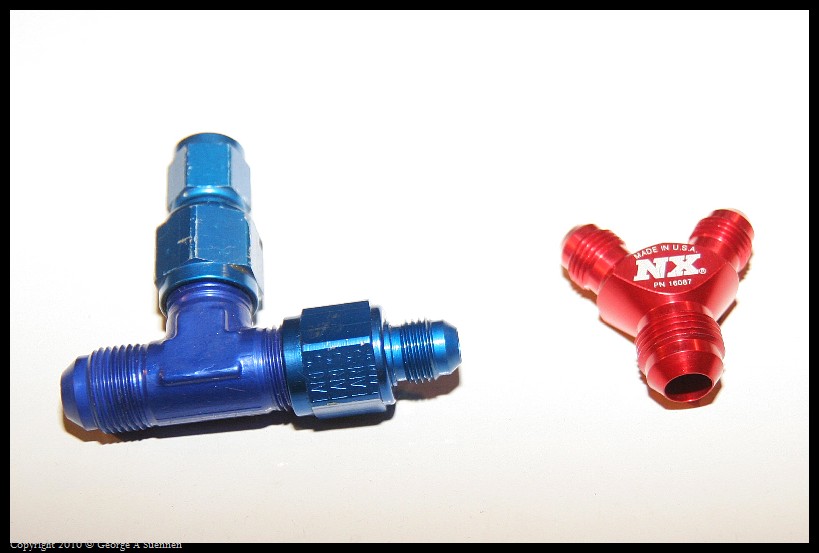
From there I decided to increase the supple fuel line to -8AN. There is theory out there that the return line should be larger to allow the air trapped in the fuel a chance to separate from the fuel before it returns to the tank. So I decided to use the existing 10 mm supply and return lines to return the gas to the fuel cell. Near the fuel cell I joined the two return lines into a -10 AN line that went back to the cell. I routed the new fuel line under the car and into the passenger side wheel well, then into the engine compartment. I then wrapped the fuel lines in the engine compartment with insulation to help keep heat out of the fuel.
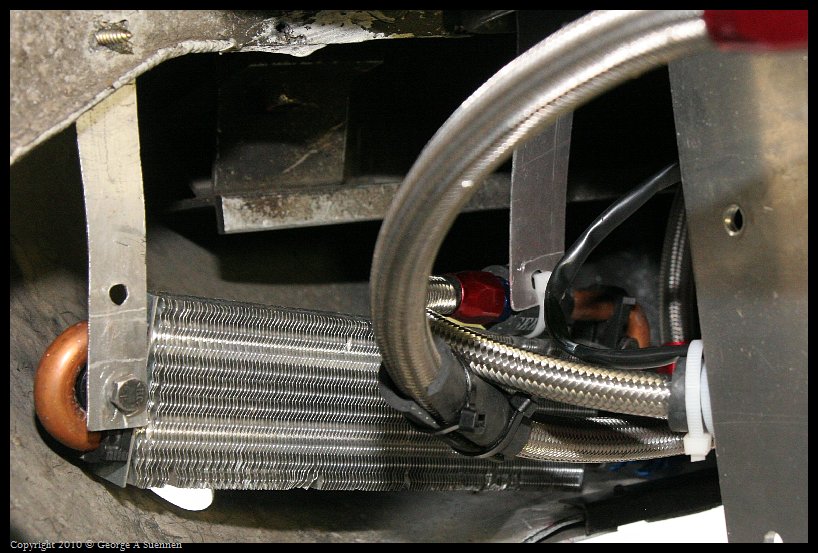
Fuel Coolers
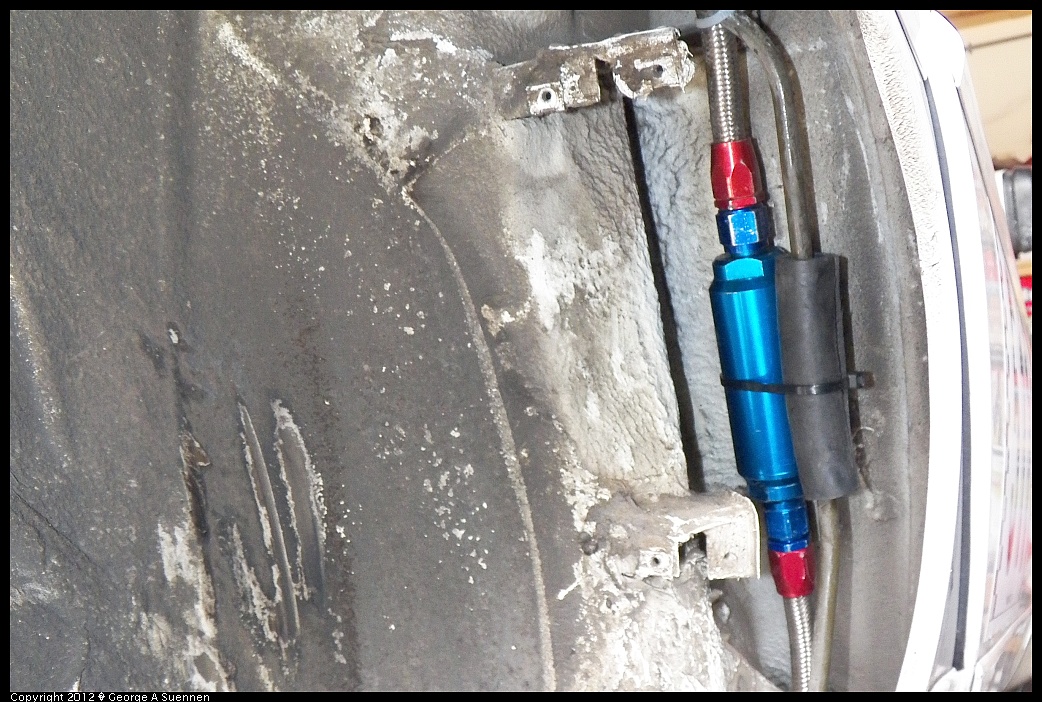
While trying to solve the heat issues, I tried installing a fuel cooler. I started with a small Flex-a-lite cooler (4136) on one of the return lines. It seemed to help for a while, but the fuel would still overheat. I took some temperature readings of the intake and output ports while the fuel was warm, and noticed a 1-3 degree drop. With this data, I decided to get a larger fuel cooler from BMM (70298). This unit came with a fan that would help circulate the air through the cooler. I also drilled some holes in the rear bumper to help pull the air out from this area.
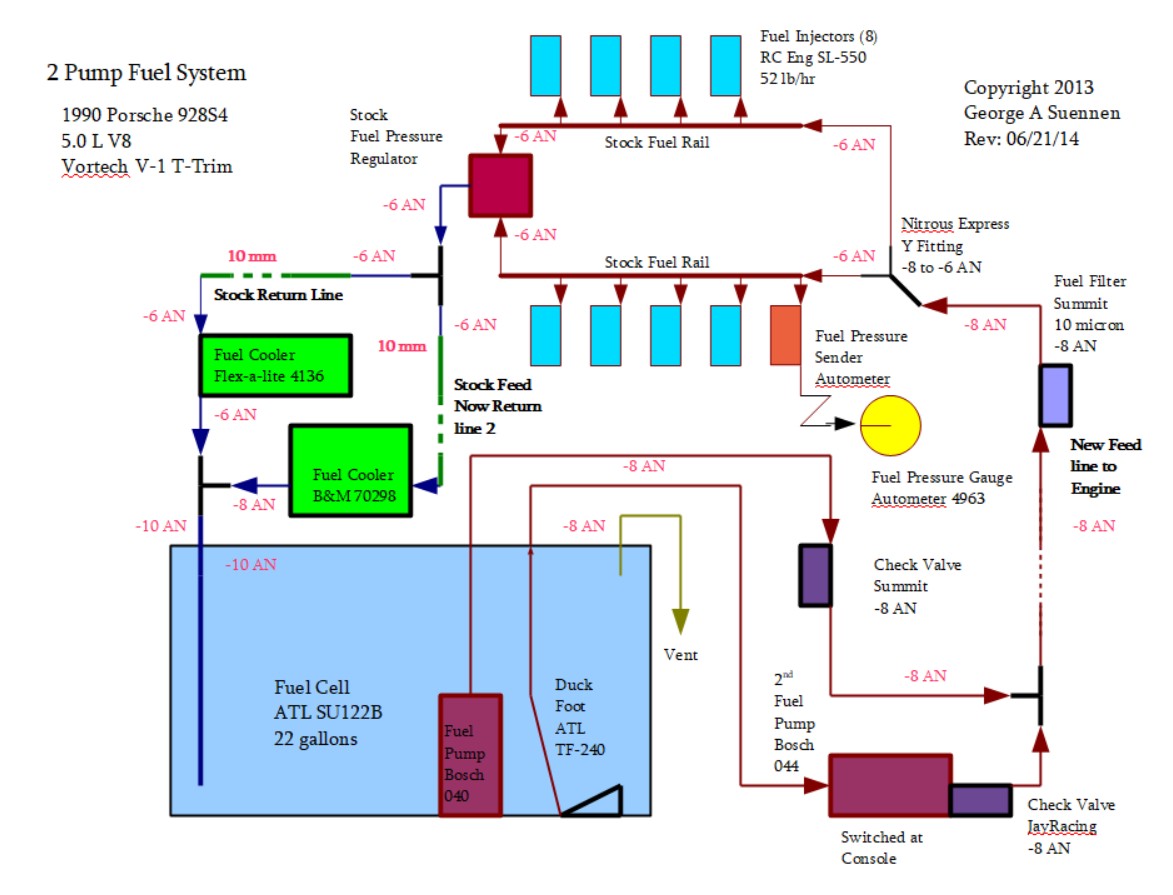
System Diagram
Electical Diagram

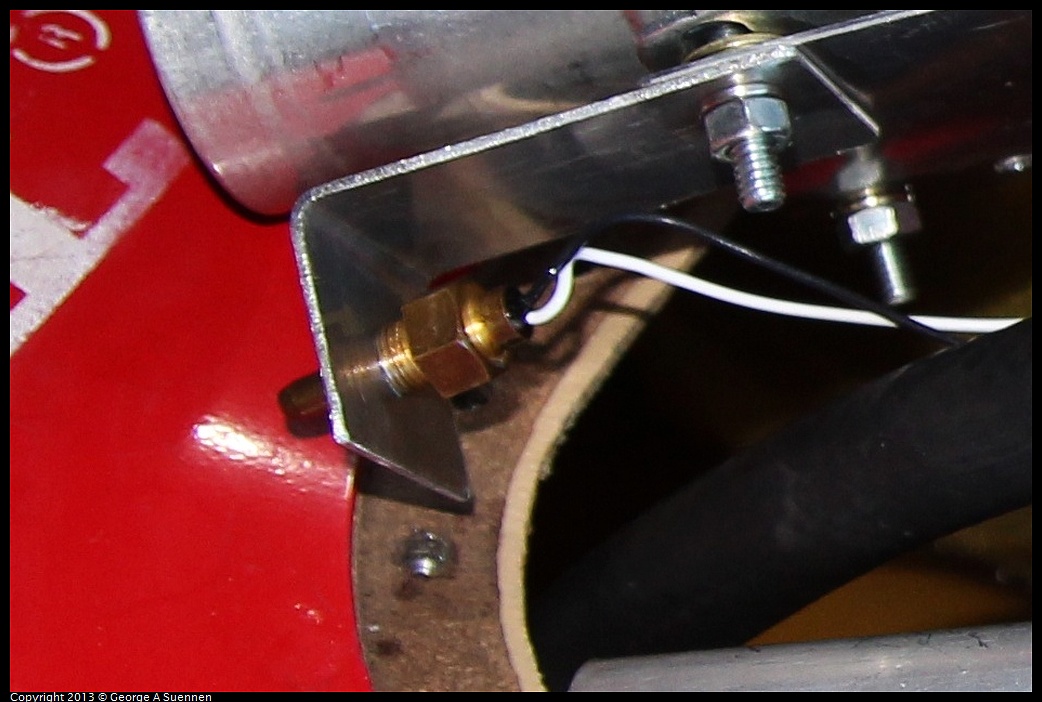
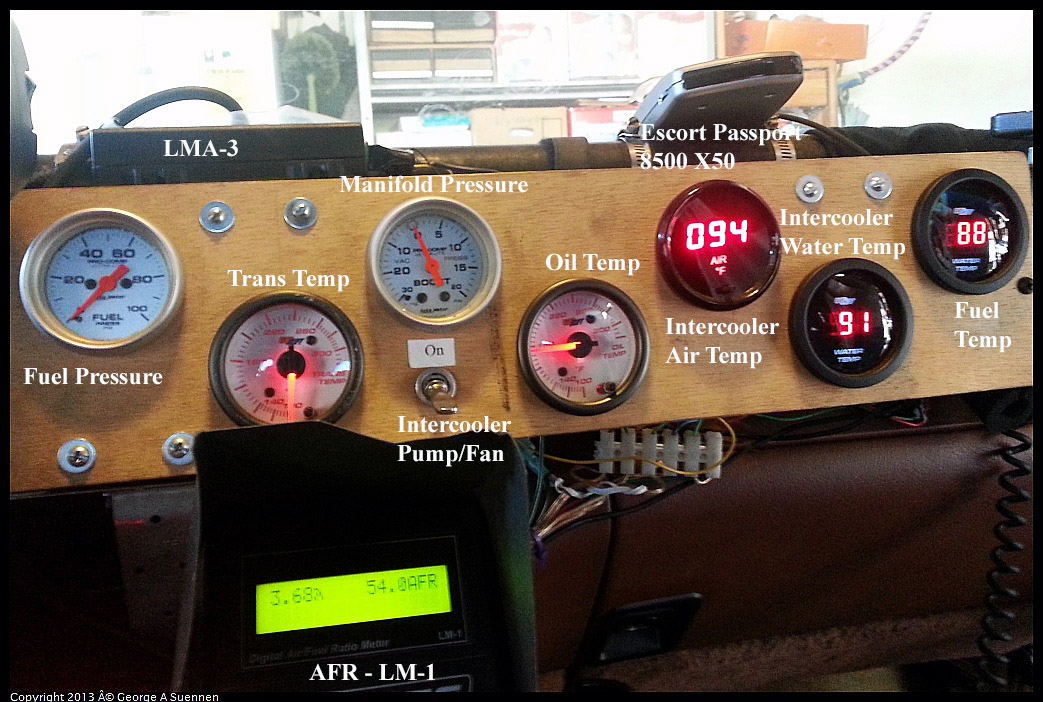
A few other things I did to keep the heat under control was to wrap the exhaust pipes where ever they were close to the fuel system, install some heat shielding around the fuel cell, move the fuel filter into the rear passenger side wheel well, and reduce the number of 90 degree bends in the fuel supply lines. I also put a temp sensor in the fuel cell so I could moniter the fuel temperature inside the car.
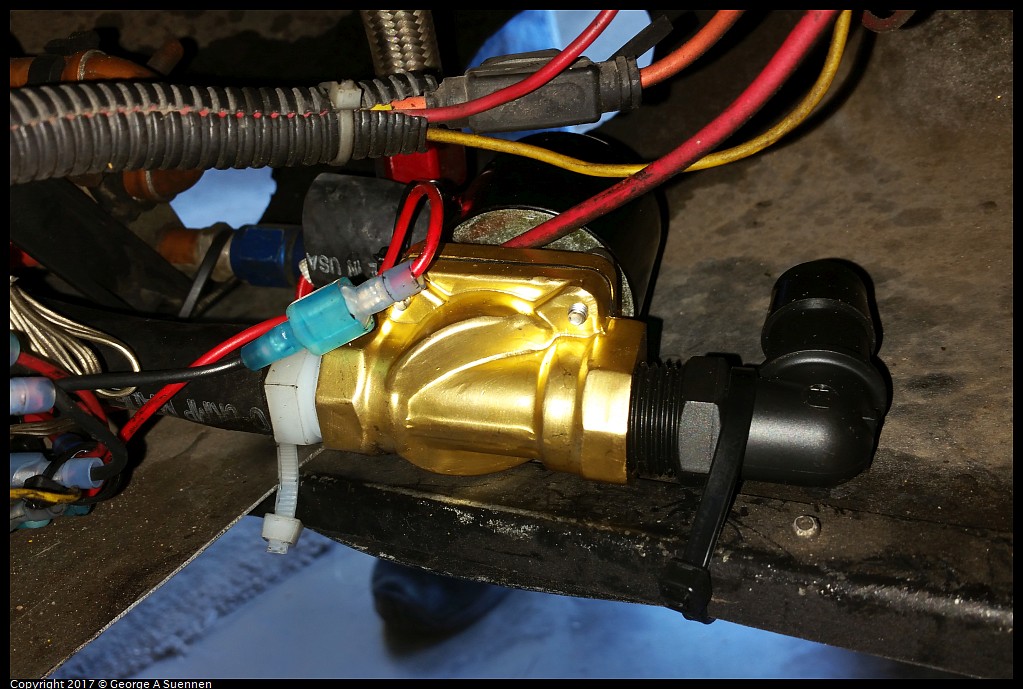
In 2017 I added a soleniod to the vent line. This eliminated the gas smell coming from the fuel cell in the summer when evaporating gas would vent in the garage.

The system cost over $6,000 and took several years to install, test, and modify.
I want to thank Bill Ball for all his hard work helping me install the system
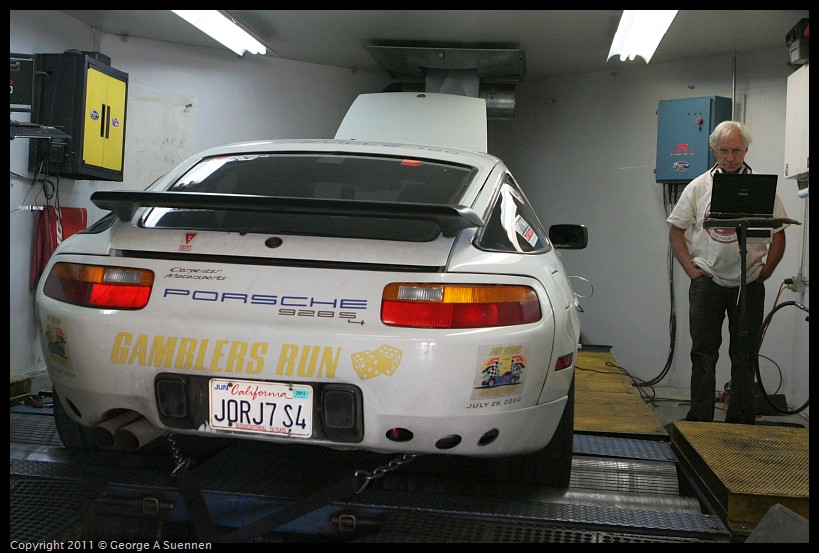
and sharktuning on the dyno and Jim Morton for his technical assistance with this project.
|  Back to My 928 Home Page