|
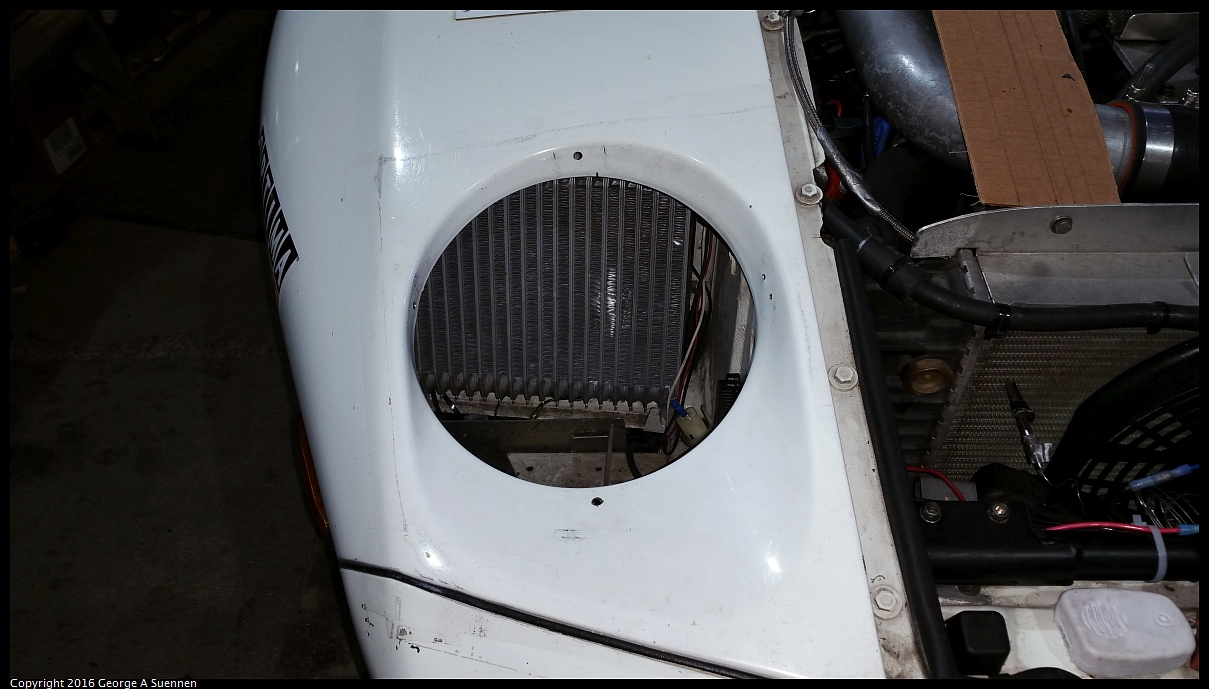
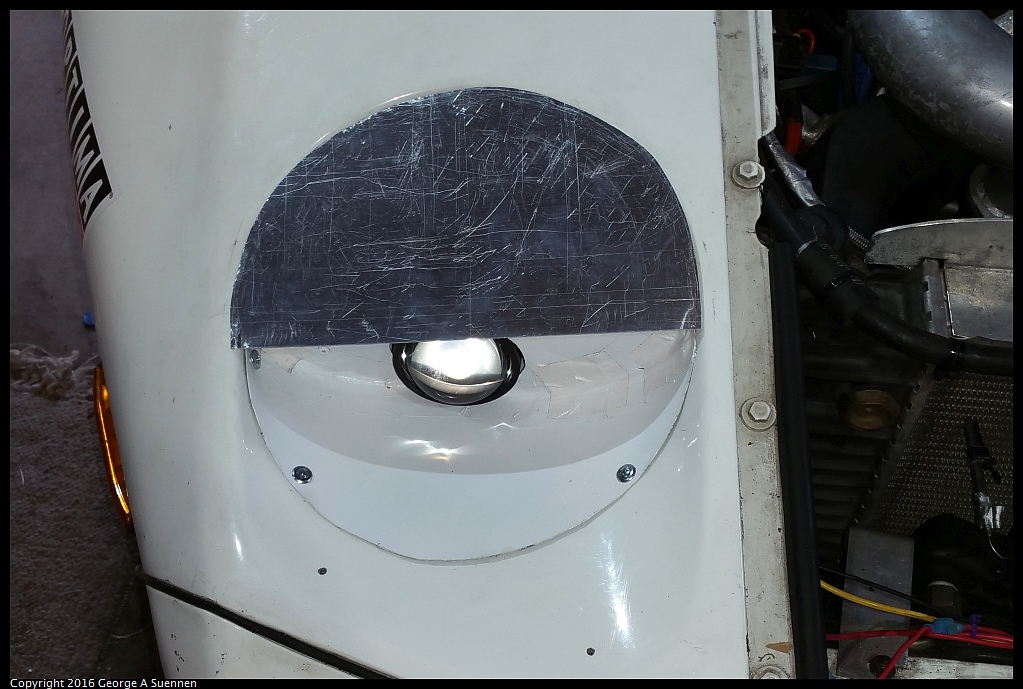
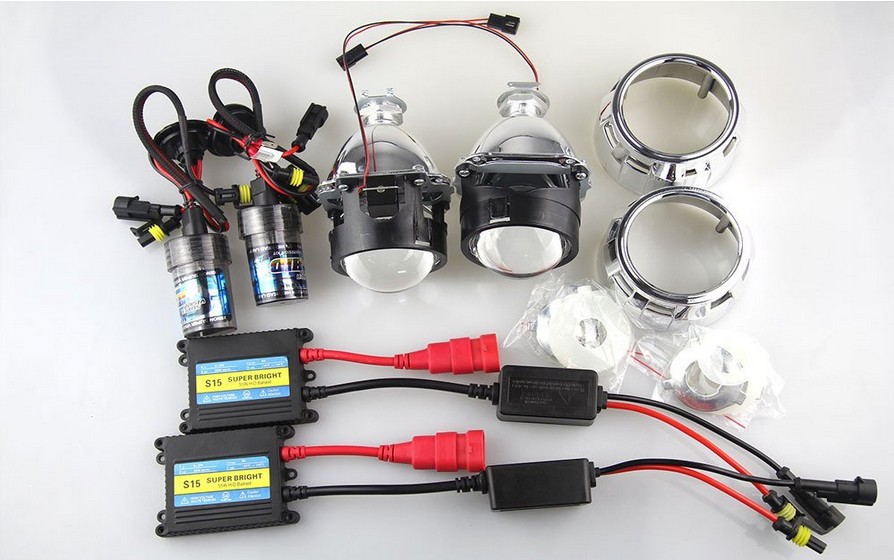
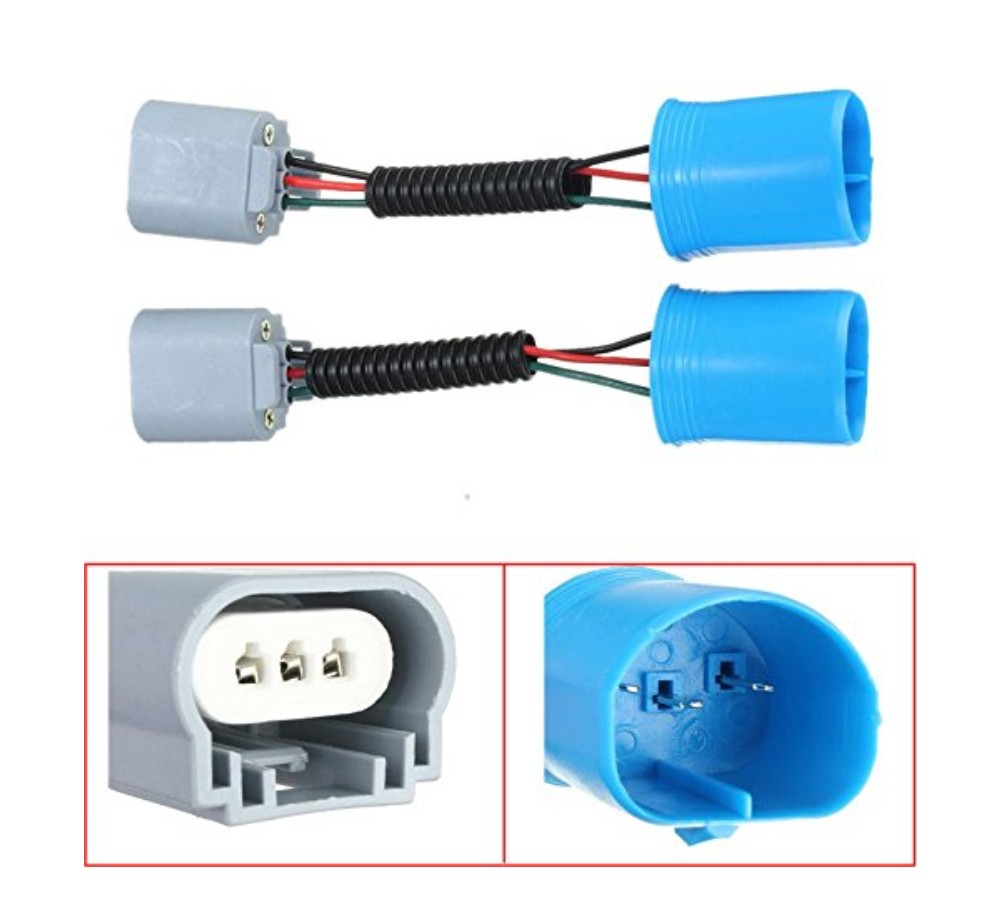
Before the 2016 NORC Open Road Race in May, Bill and I had removed the passenger side headlight to get more air flow to the intercooler heat exchanger in the fender. To compensate for the lose of the headlight we installed a HID light kit in the Driving Light locations. I fabricated an aluminum cover for the headlight to use during the race, but wanted to install a set of HID projector lights after race. I bought a Bixenon Projector light kit and a pair of 9004 pigtail adapters from Amazon, 3 Amp 300V diode from Radio Shack, and some 12" x 15" x 1/8" Polycarbonate sheets from Tap Plastic. I removed the cover and started to work on the installation.
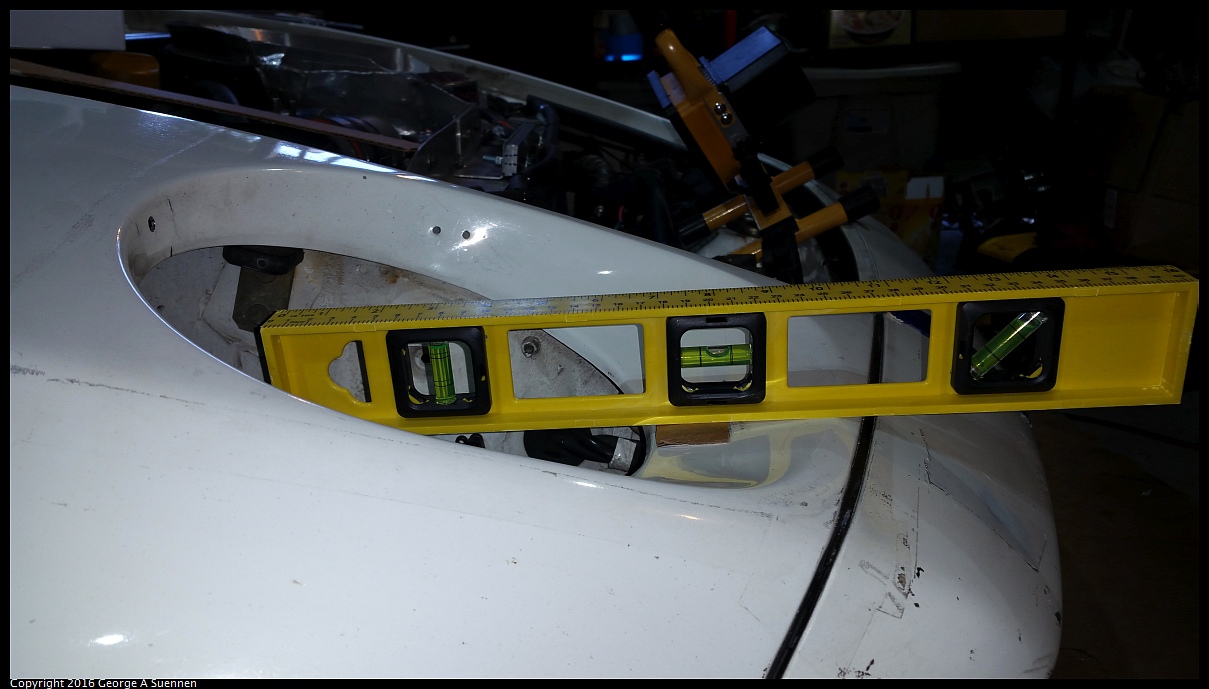
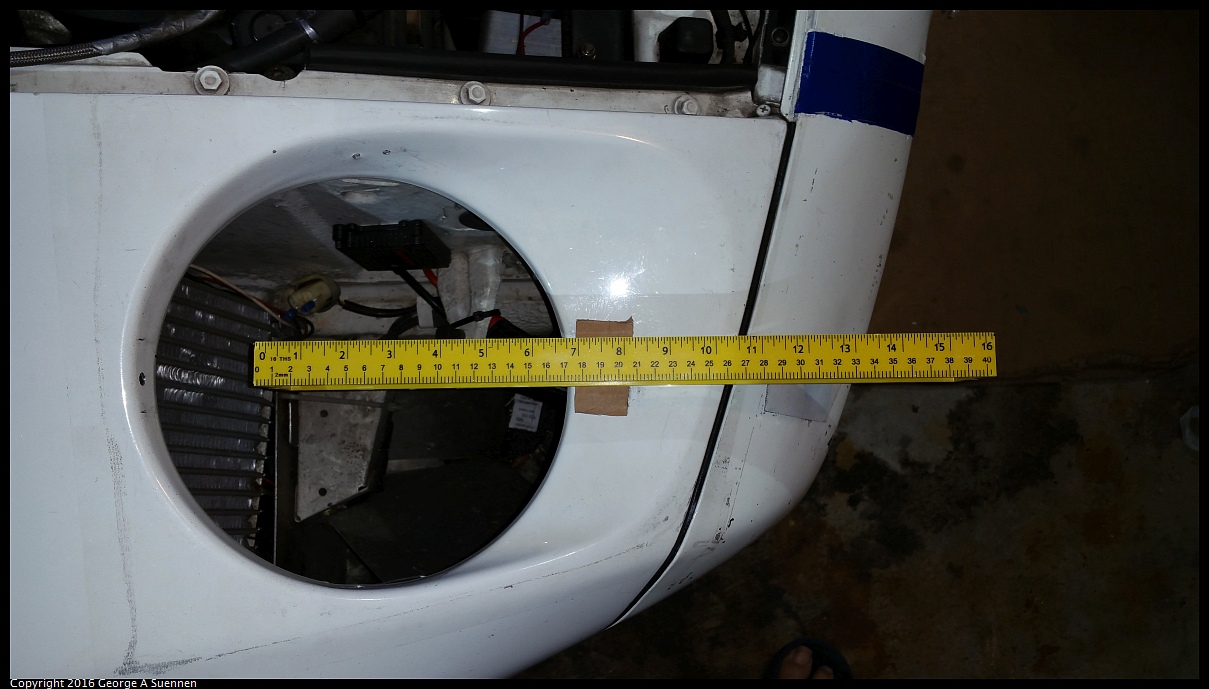
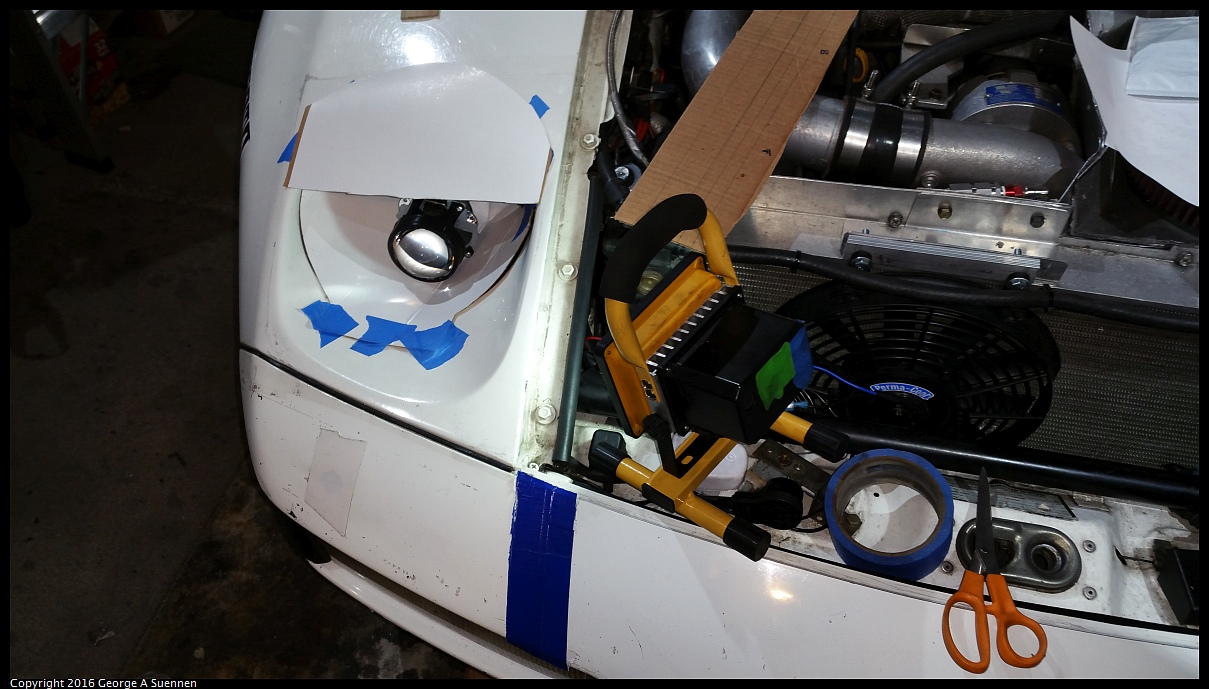
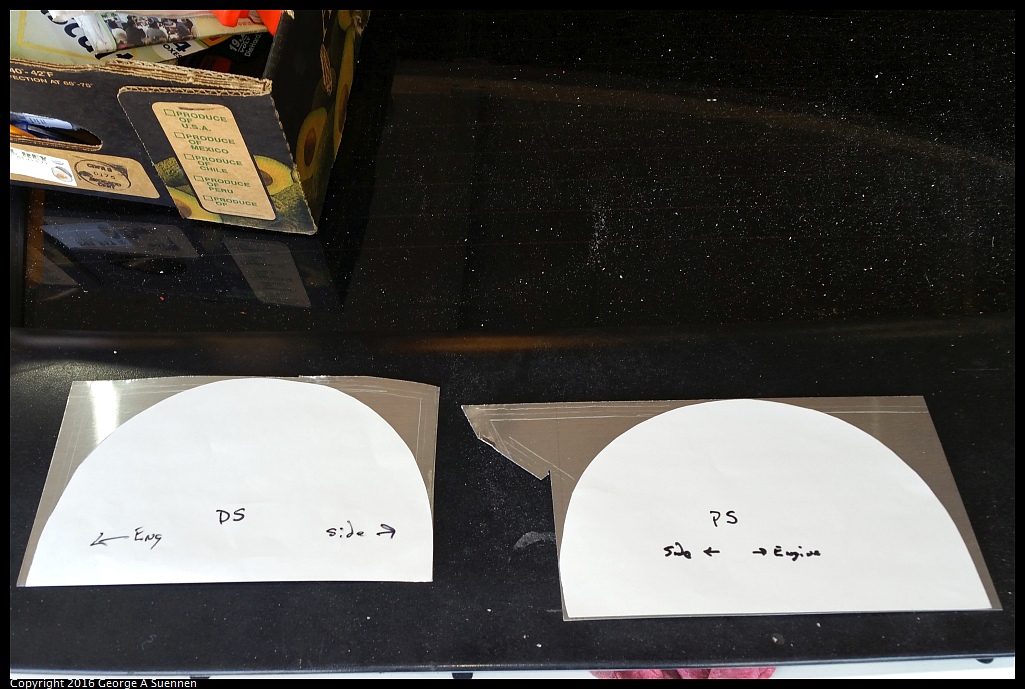
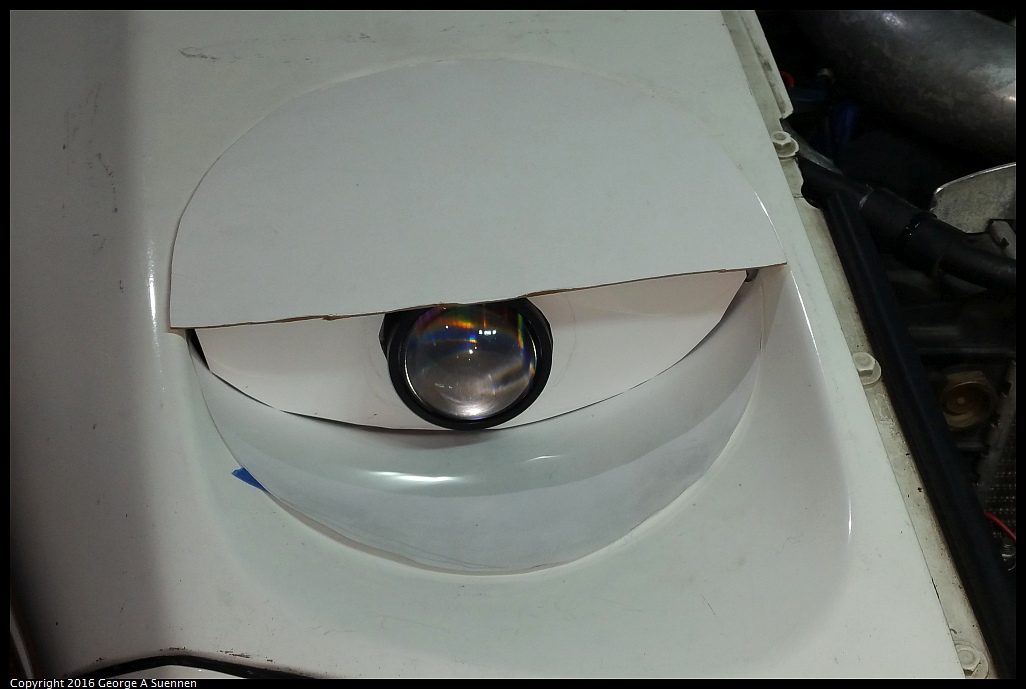
I started by measuring the distances and angles, the mocked up a cardboard/paper model of what I was hoping to build.
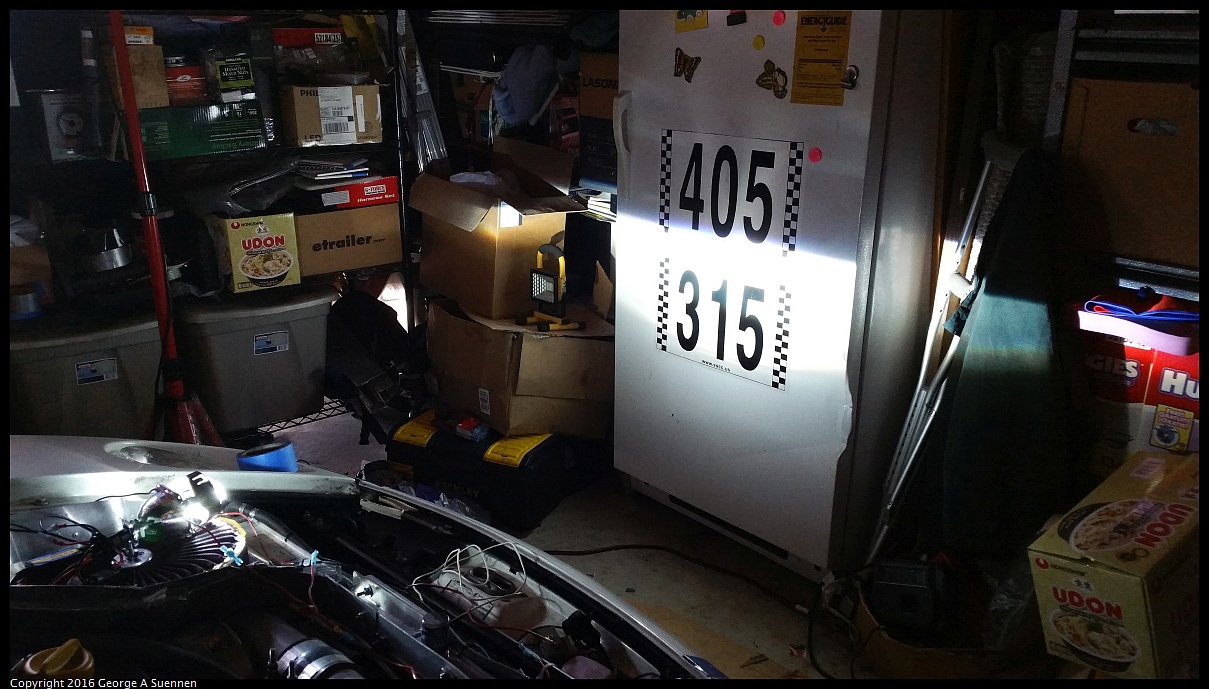
Next I started the wiring part of the project. I attached a lead to the jump post and the other to a crossbrace bolt (for ground) and checked to see if the lights worked and see the light pattern, both low beam and high beam.
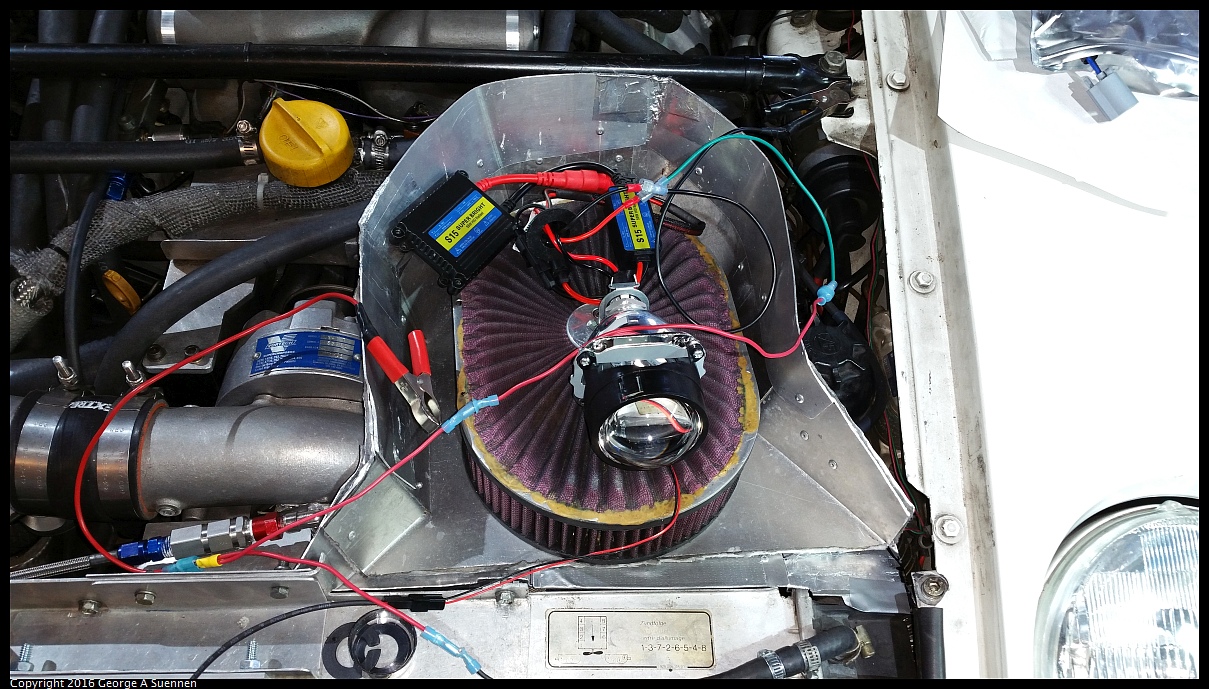
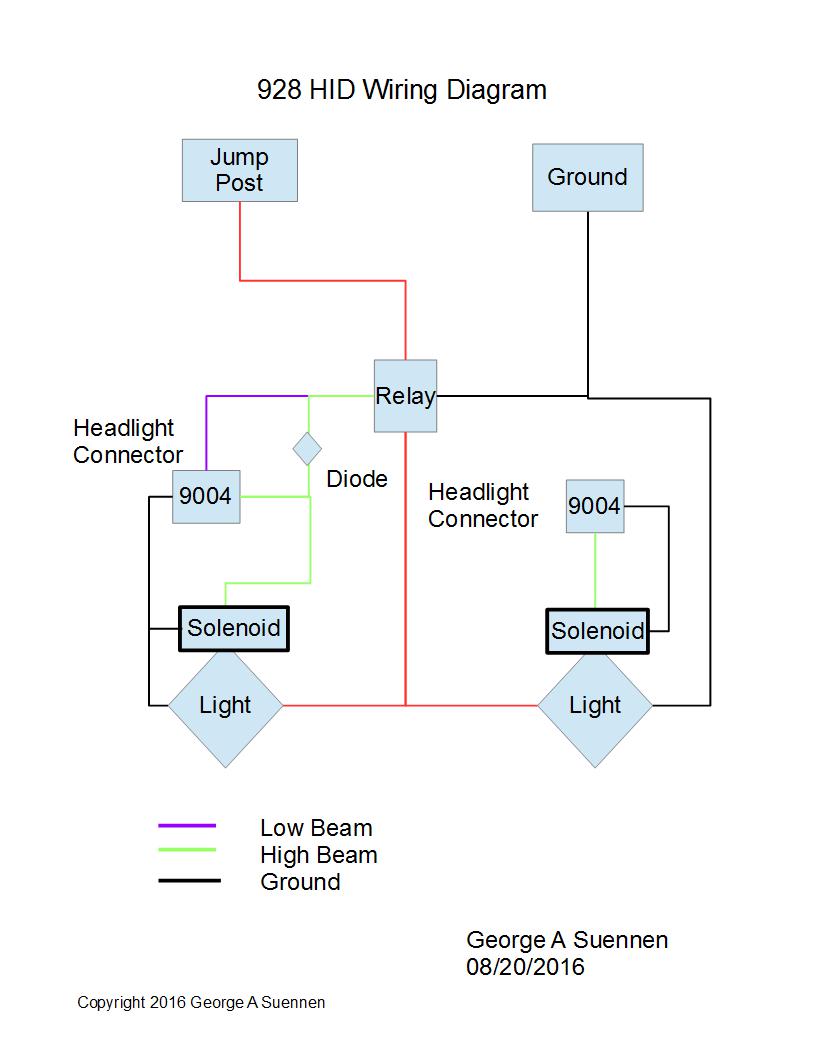
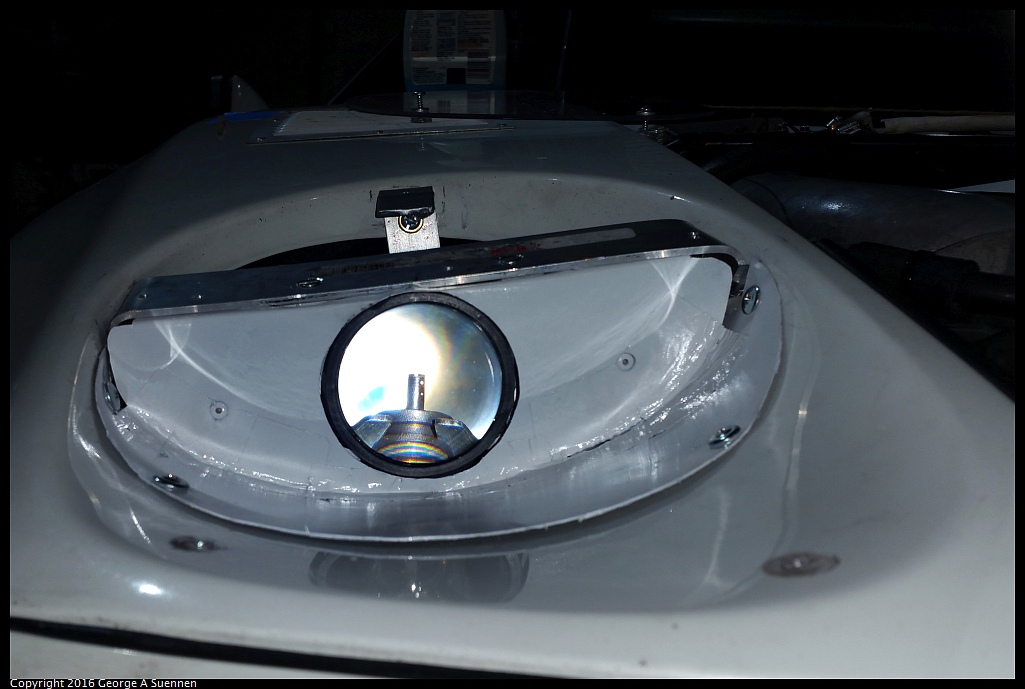
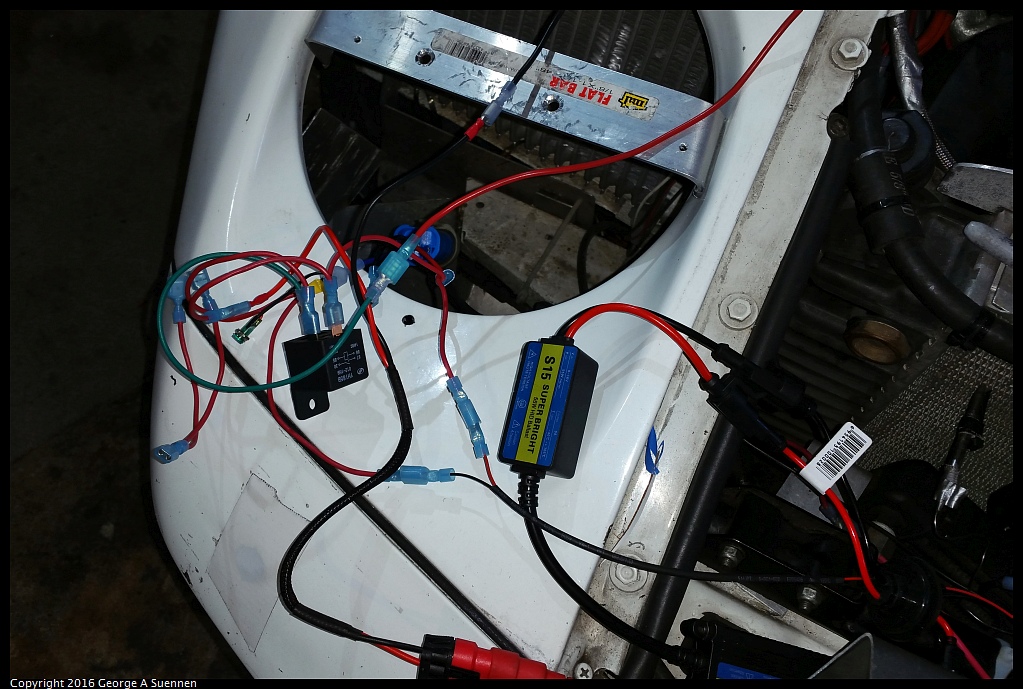
I made a bracket to mount the projector light onto the cross brace that I'd used for the cover. Then did a preliminary wiring job, but found that the power coming from the existing 9004 socket didn't work well with this set up. First off, when the low beam has power the high beam does not, and when the high beam has power, the low beam does not. This meant I had to wire the high and low beam output together to power the HID light. This caused the high beam fuse to blow out. I inserted a diode in the circut, which stopped the fuse problem, but there wasn't to enough power to get the HID light to work as well when the high beam was on. At this point I installed a relay that drew power from the jump post and was triggered by the combined low and high beam circut (with diode) from the 9004 socket. I would then use this power to drive both passenger and driver's side lights. Another thing about these Bixenon lights is that there is only one light bulb and the high and low beam pattern is controlled by a solenoid controlled flap. Here's a diagram of the system:
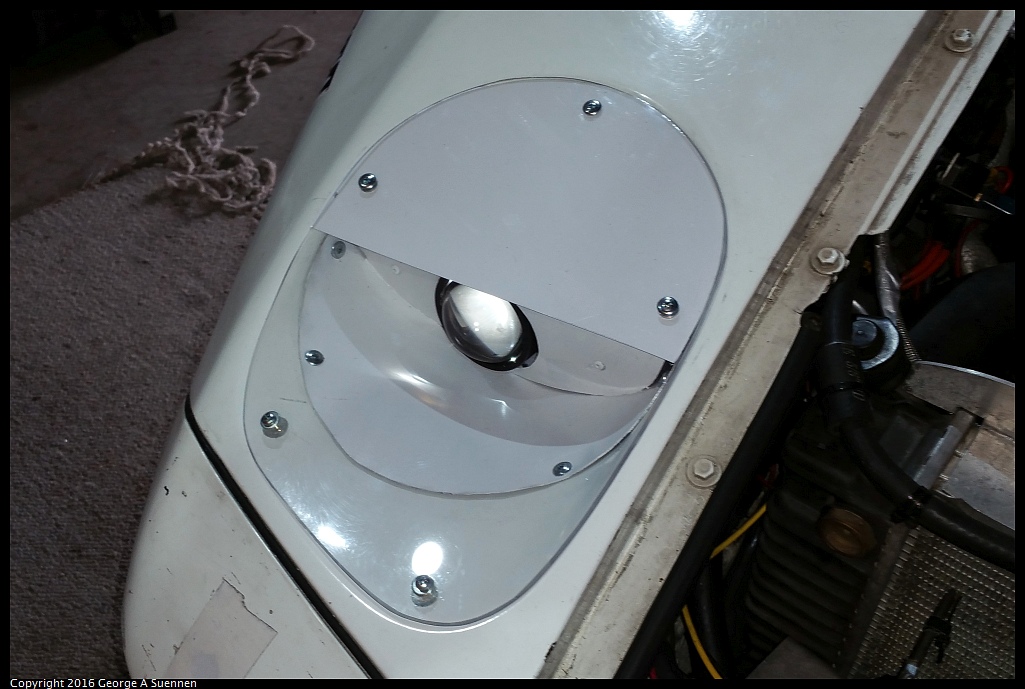
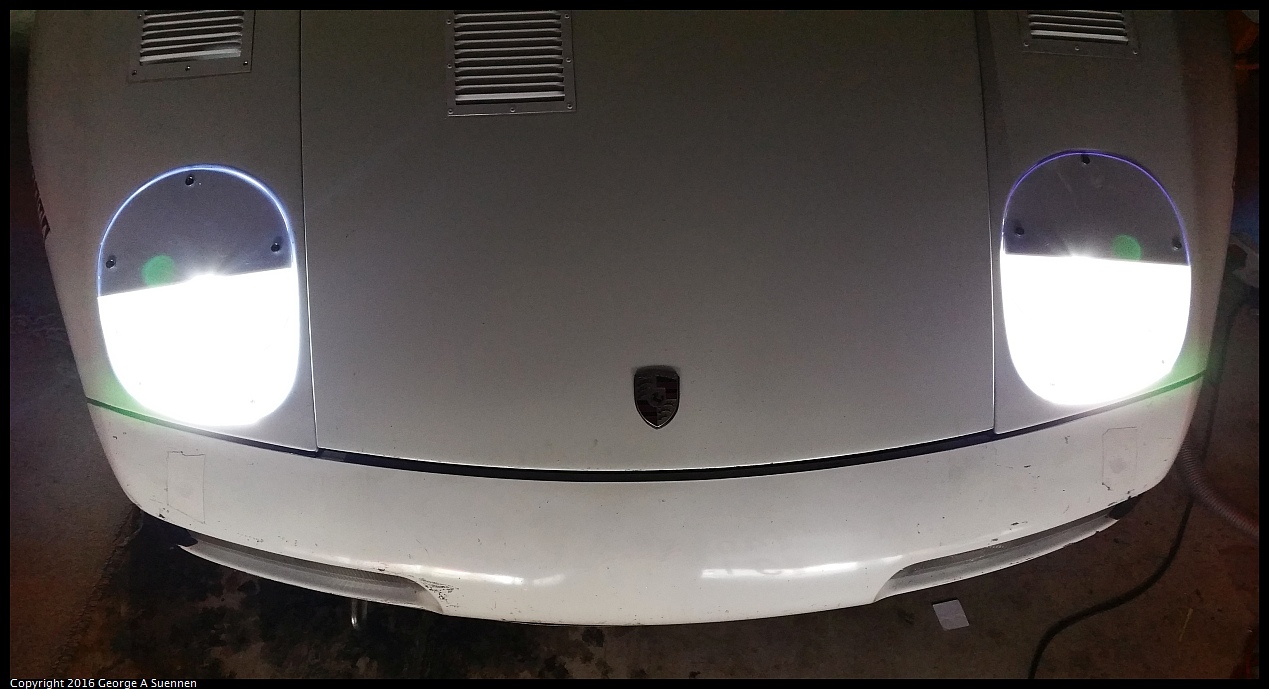
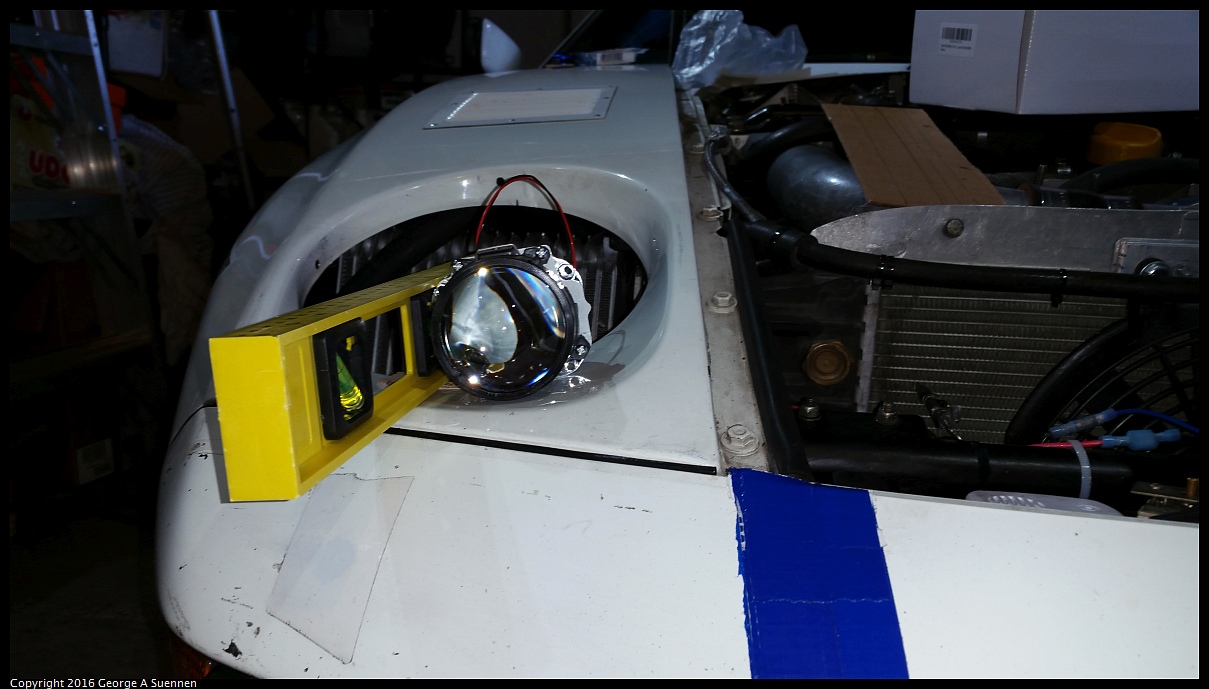
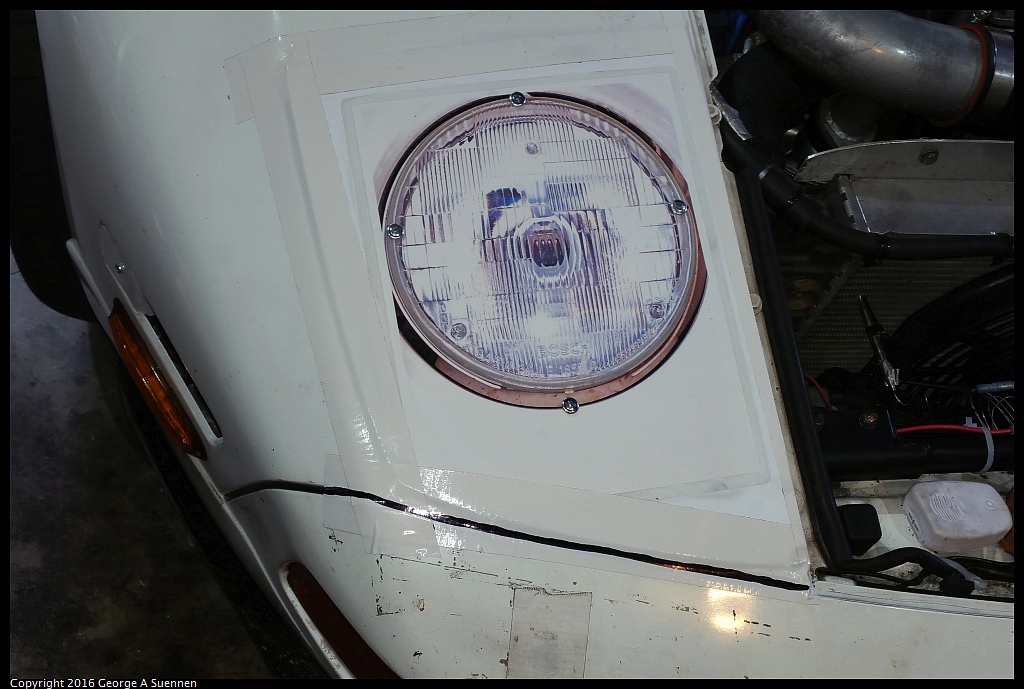
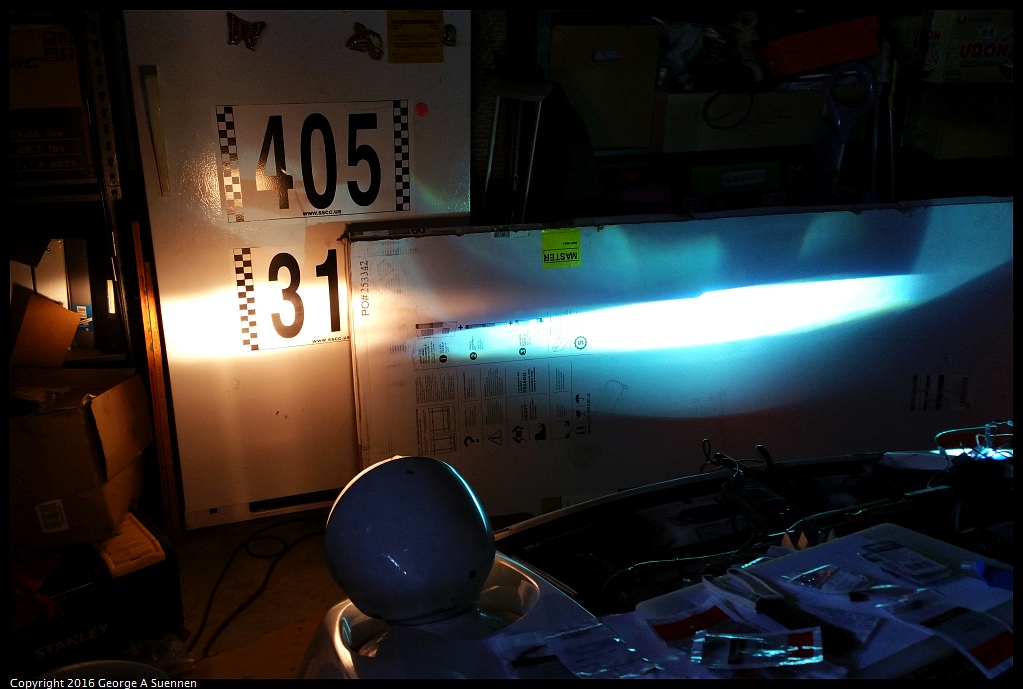
Once I figured out the wiring I tested out the light pattern using the new mounting bracket, both Low Beam and High Beam and compared it to the existing headlight on the driver's side. I did have to adjust the angles some to get an acceptable pattern. Then it was on to the fabrication of the light fix housing based on the final version of the cardboard/paper mock up.
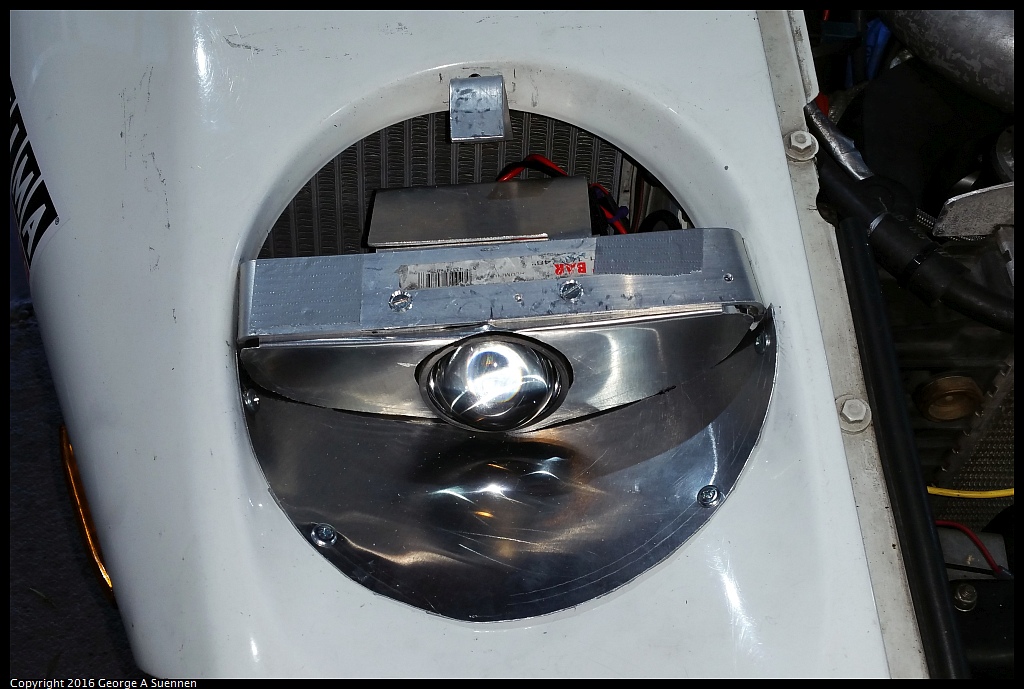
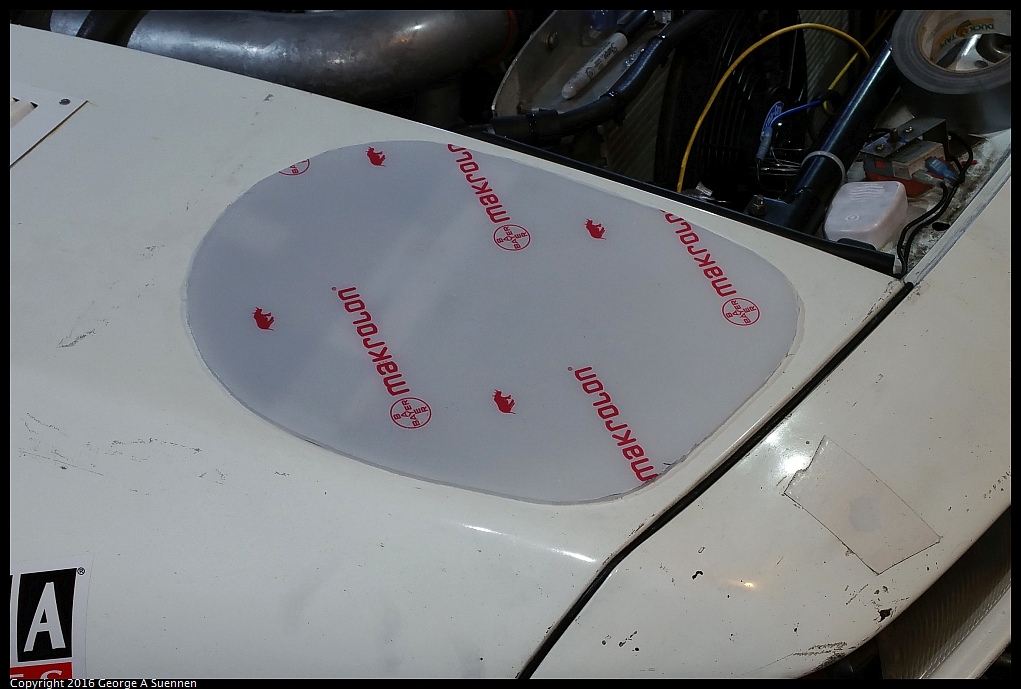
I cut the polycarbinate sheet to match the headlight indent, painted the aluminum cover plate and screwed it all together.
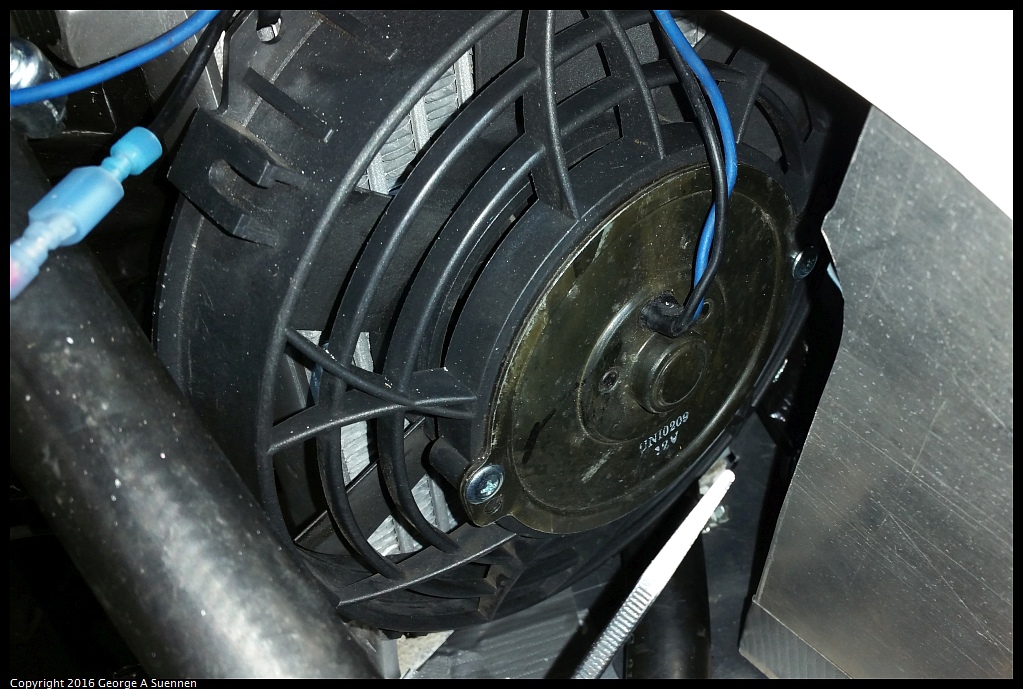
Bill helped me remove the driver's side headlight, and I repeated the process on this side after installing an additional intercooler heat exchanger and fan in the new space. I went through several different prototype mock ups during the process. I include photos of many of the the different options I tried in the Photo Gallery below.
The system cost about $150 and took several days over a 2 month period to install.
I want to thank Bill Ball for helping remove the old headlights and helping with some of the design details.
Project Photo Gallery
|  Back to My 928 Home Page